Introduction
Painting your exterior walls not only improves the curb appeal of your home but also protects it from the elements. However, the most important step before painting is surface preparation. Skipping this step can drastically affect the outcome of your project. Proper preparation ensures the paint adheres correctly and creates a durable finish. Good preparation leads to a longer-lasting paint job.
In this guide, we’ll show you how to paint your exterior walls like a professional, giving you a beautiful and weather-resistant finish.
Step 1: Gather Your Supplies
Before you start painting, it’s important to have the right materials at hand:
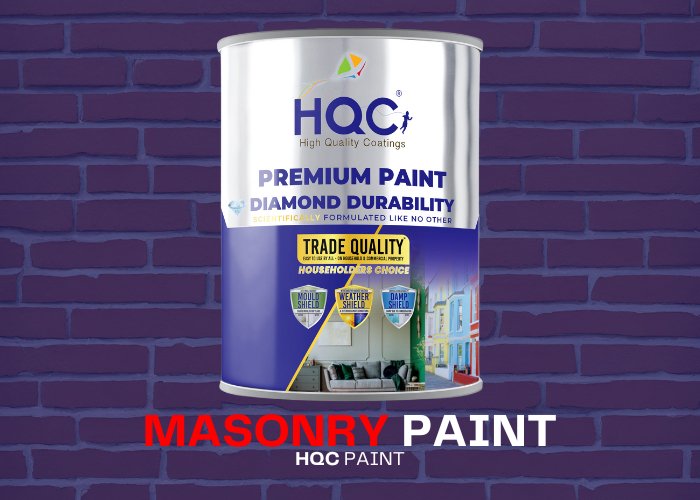
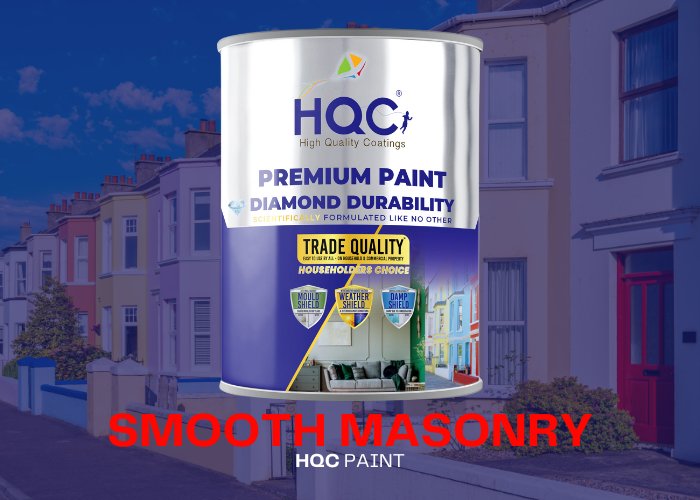
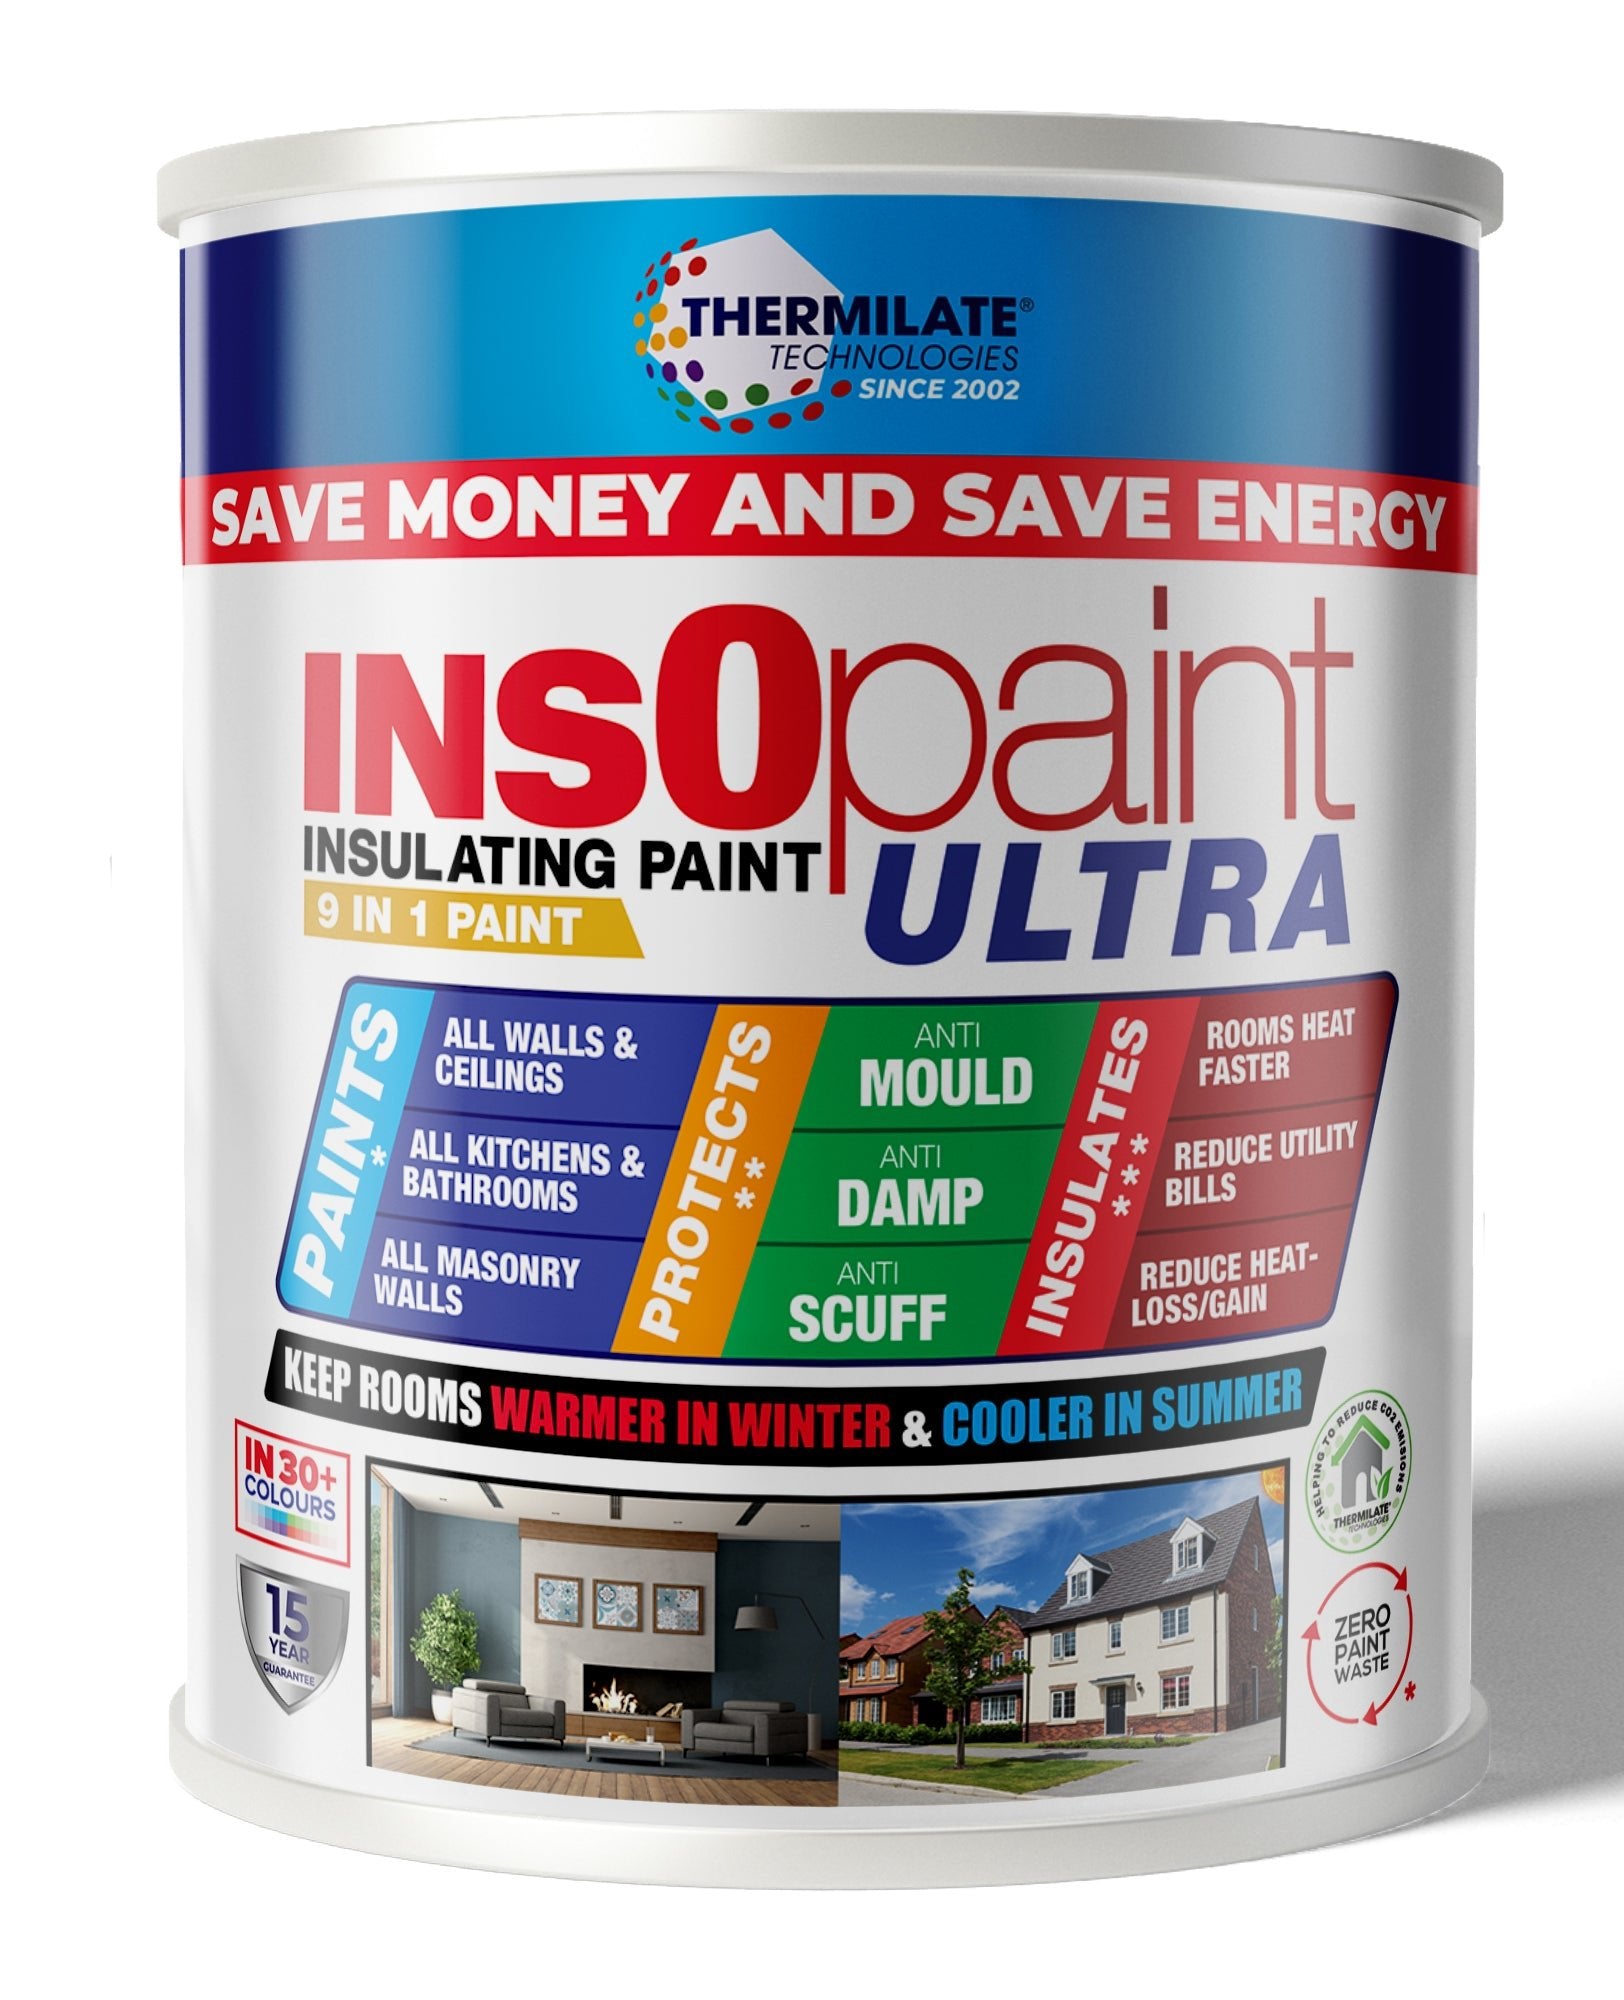
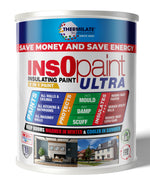
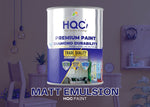
- HQC Masonry Paint or InsOpaint Ultra for excellent coverage and protection (S-Flex Exterior Wall Coating: A flexible, weather-resistant coating that enhances durability).
- HQC Stabilizing Universal Primer for preparing porous surfaces.
- Paintbrushes: For precise work around edges and trims.
- Rollers: Ideal for covering larger wall surfaces.
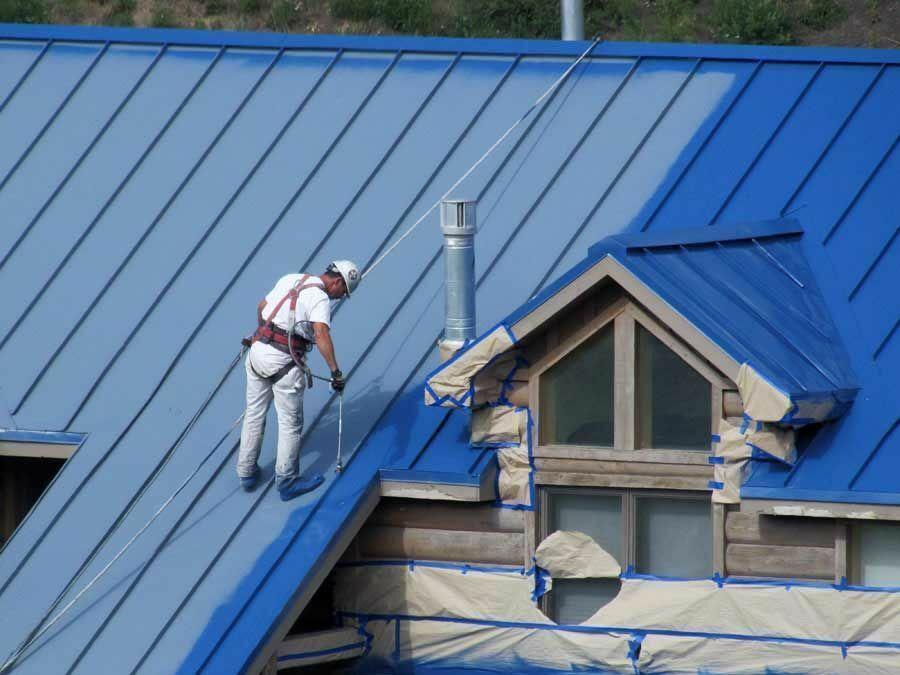
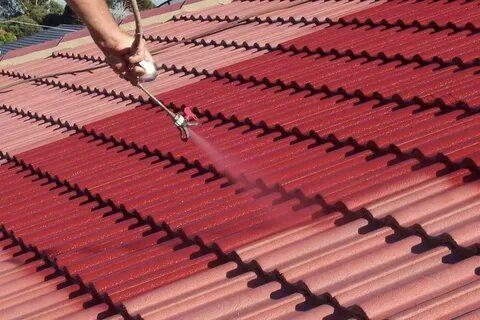
- Paint sprayer: For quick and even coverage over large walls.
- Painter’s tape: To protect windows, trim, and other areas that should not be painted.
- Drop cloths: To protect the ground and surrounding areas from paint drips.
- Sandpaper: For smoothing rough surfaces.
- Sugar soap: For cleaning dirt and grease off the walls.
Step 2: Prepare the Exterior Walls
Good preparation is key to achieving long-lasting results. Follow these steps to prep your exterior walls:
- Clean the Walls: Begin by washing the walls with a pressure washer or manually using sugar soap. This will remove dust, dirt, and any mildew.
- Fill in Cracks and Holes: Inspect the walls for any cracks or damage. Use exterior-grade filler to fill in gaps and smooth out the surface.
- Remove Loose Paint and Sand: Scrape off any peeling or flaking paint from the walls. Sand the area until smooth, especially around repaired sections. Apply primer if necessary, especially on unpainted masonry surfaces.
- Prime the Surface: Lightly sand the entire wall surface to help the paint adhere better. Clean off any dust with a damp cloth.
- Tape Off Trim and Windows: Apply painter’s tape to protect window frames, door frames, and any areas you don’t want painted.
Step 3: Apply Primer
If the exterior walls are unpainted or porous (e.g., stone, brick, or plaster), applying a primer is essential to ensure the paint bonds well and provides even coverage.
- Pro Tip: For highly absorbent surfaces like brick, stone, or concrete, mix your first coat with 50% water to create a mist coat. This must soak in and dry for 8 hours before applying the topcoat. We recommend using HQC Stabilizing Universal Primer to ensure the paint sticks well.
Step 4: Start Painting the Exterior Walls
Once your walls are primed and prepped, you can begin the painting process. You can choose between a brush, roller, or sprayer depending on the area you’re covering.
-
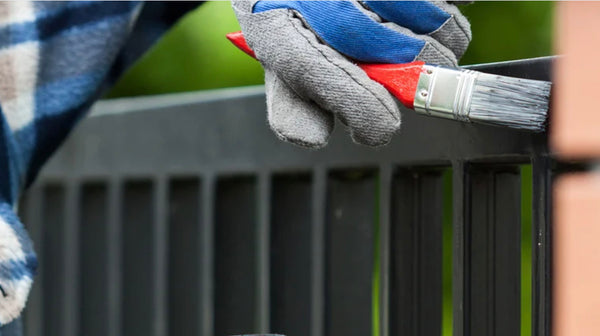
Cut in Around the Edges: Start by painting the edges around windows, doors, and trims with a brush.
-
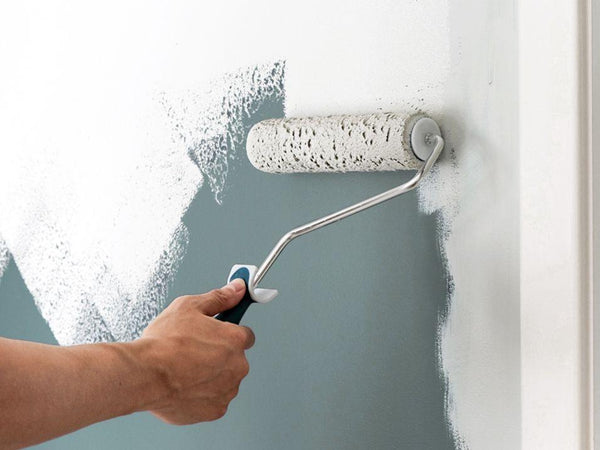
Roll or Spray Large Areas: For the larger wall surfaces, use a roller or sprayer. Apply even, thin coats using a "W" or crisscross motion to avoid streaks.
- Let the Paint Dry: Allow the first coat to dry for 4-6 hours before applying the second coat. The second coat will help to even out the finish and ensure long-term durability.
- Pro Tip: For added protection and durability, consider applying S-Flex Exterior Wall Coating after the second coat of paint. This flexible coating provides superior weather resistance and prevents cracking or peeling.
Step 5: Inspect and Finish Touches
After the second coat has dried, examine the surface for any areas that need touching up. Use a small brush to fix thin areas or missed spots.
Step 6: Clean Up
Once the project is complete, take time to clean up properly:
- Remove Tape: Remove the painter’s tape while the paint is still slightly wet to avoid peeling off the dried paint.
- Clean Your Tools: Clean your brushes, rollers, and sprayer with warm water and store them for future use.
- Clear the Area: Remove drop cloths and return any furniture or plants to their original spots once the walls are completely dry.
Recommended Products
For the best results on exterior wall projects, we recommend using these products from PaintOutlet.co.uk:
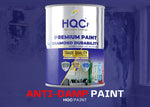
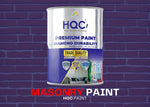
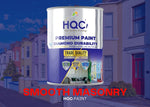
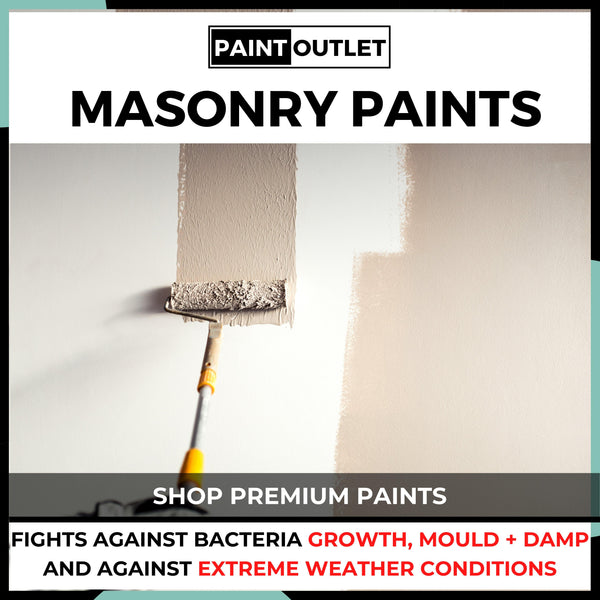
- HQC Masonry Paint: Provides outstanding protection and a long-lasting finish on exterior walls.
- InsOpaint Ultra: Offers energy-saving insulation while providing excellent exterior coverage.
- S-Flex Exterior Wall Coating: A flexible, weatherproof coating that adds extra durability.
- HQC Stabilizing Universal Primer: A must-have for priming porous surfaces and ensuring proper adhesion of the topcoat.
FAQ Section
Q: What type of paint should I use for exterior walls?
A: We recommend HQC Masonry Paint or InsOpaint Ultra for durable protection against weather, wear, and environmental damage.
Q: How long should I wait between coats of paint on exterior walls?
A: Wait 4-6 hours between coats to ensure the paint dries properly.
Q: Is there a way to protect my exterior walls even more?
A: Yes! Applying S-Flex Exterior Wall Coating after the second coat of paint adds extra flexibility and durability, protecting against cracking and peeling.
Conclusion
Proper preparation and technique are essential for achieving a professional finish on your exterior walls. By following the steps outlined above and using high-quality products from PaintOutlet.co.uk, you can ensure long-lasting and beautiful results. Whether you’re using a brush, roller, or sprayer, taking the time to prepare your surfaces will guarantee success.
Why shop at PaintOutlet? When you shop with PaintOutlet, you’re saving paint waste, saving money, and saving time. Plus, all of our high-quality paints and coatings are made in-house with sustainability in mind. We’re dedicated to reducing carbon emissions and putting the environment first, unlike companies that prioritise profit over eco-friendliness.


