Introduction
Painting an interior room can completely transform your space, whether you're refreshing the colour or trying something new. However, surface preparation is the most important step when painting. If avoided, it can affect the whole outcome of your project. Surfaces must be prepared correctly for the paint to adhere and bond to the surfaces. Poor preparation will result in peeling and flaking, leading to premature failure of the paint. Good preparation will give you a very long-lasting paint performance.
In this guide, we’ll walk you through the steps of how to paint your interior room like a pro, ensuring long-lasting, high-quality results.
Step 1: Gather Your Materials
Before you begin, ensure you have all the necessary materials. Here's a checklist:
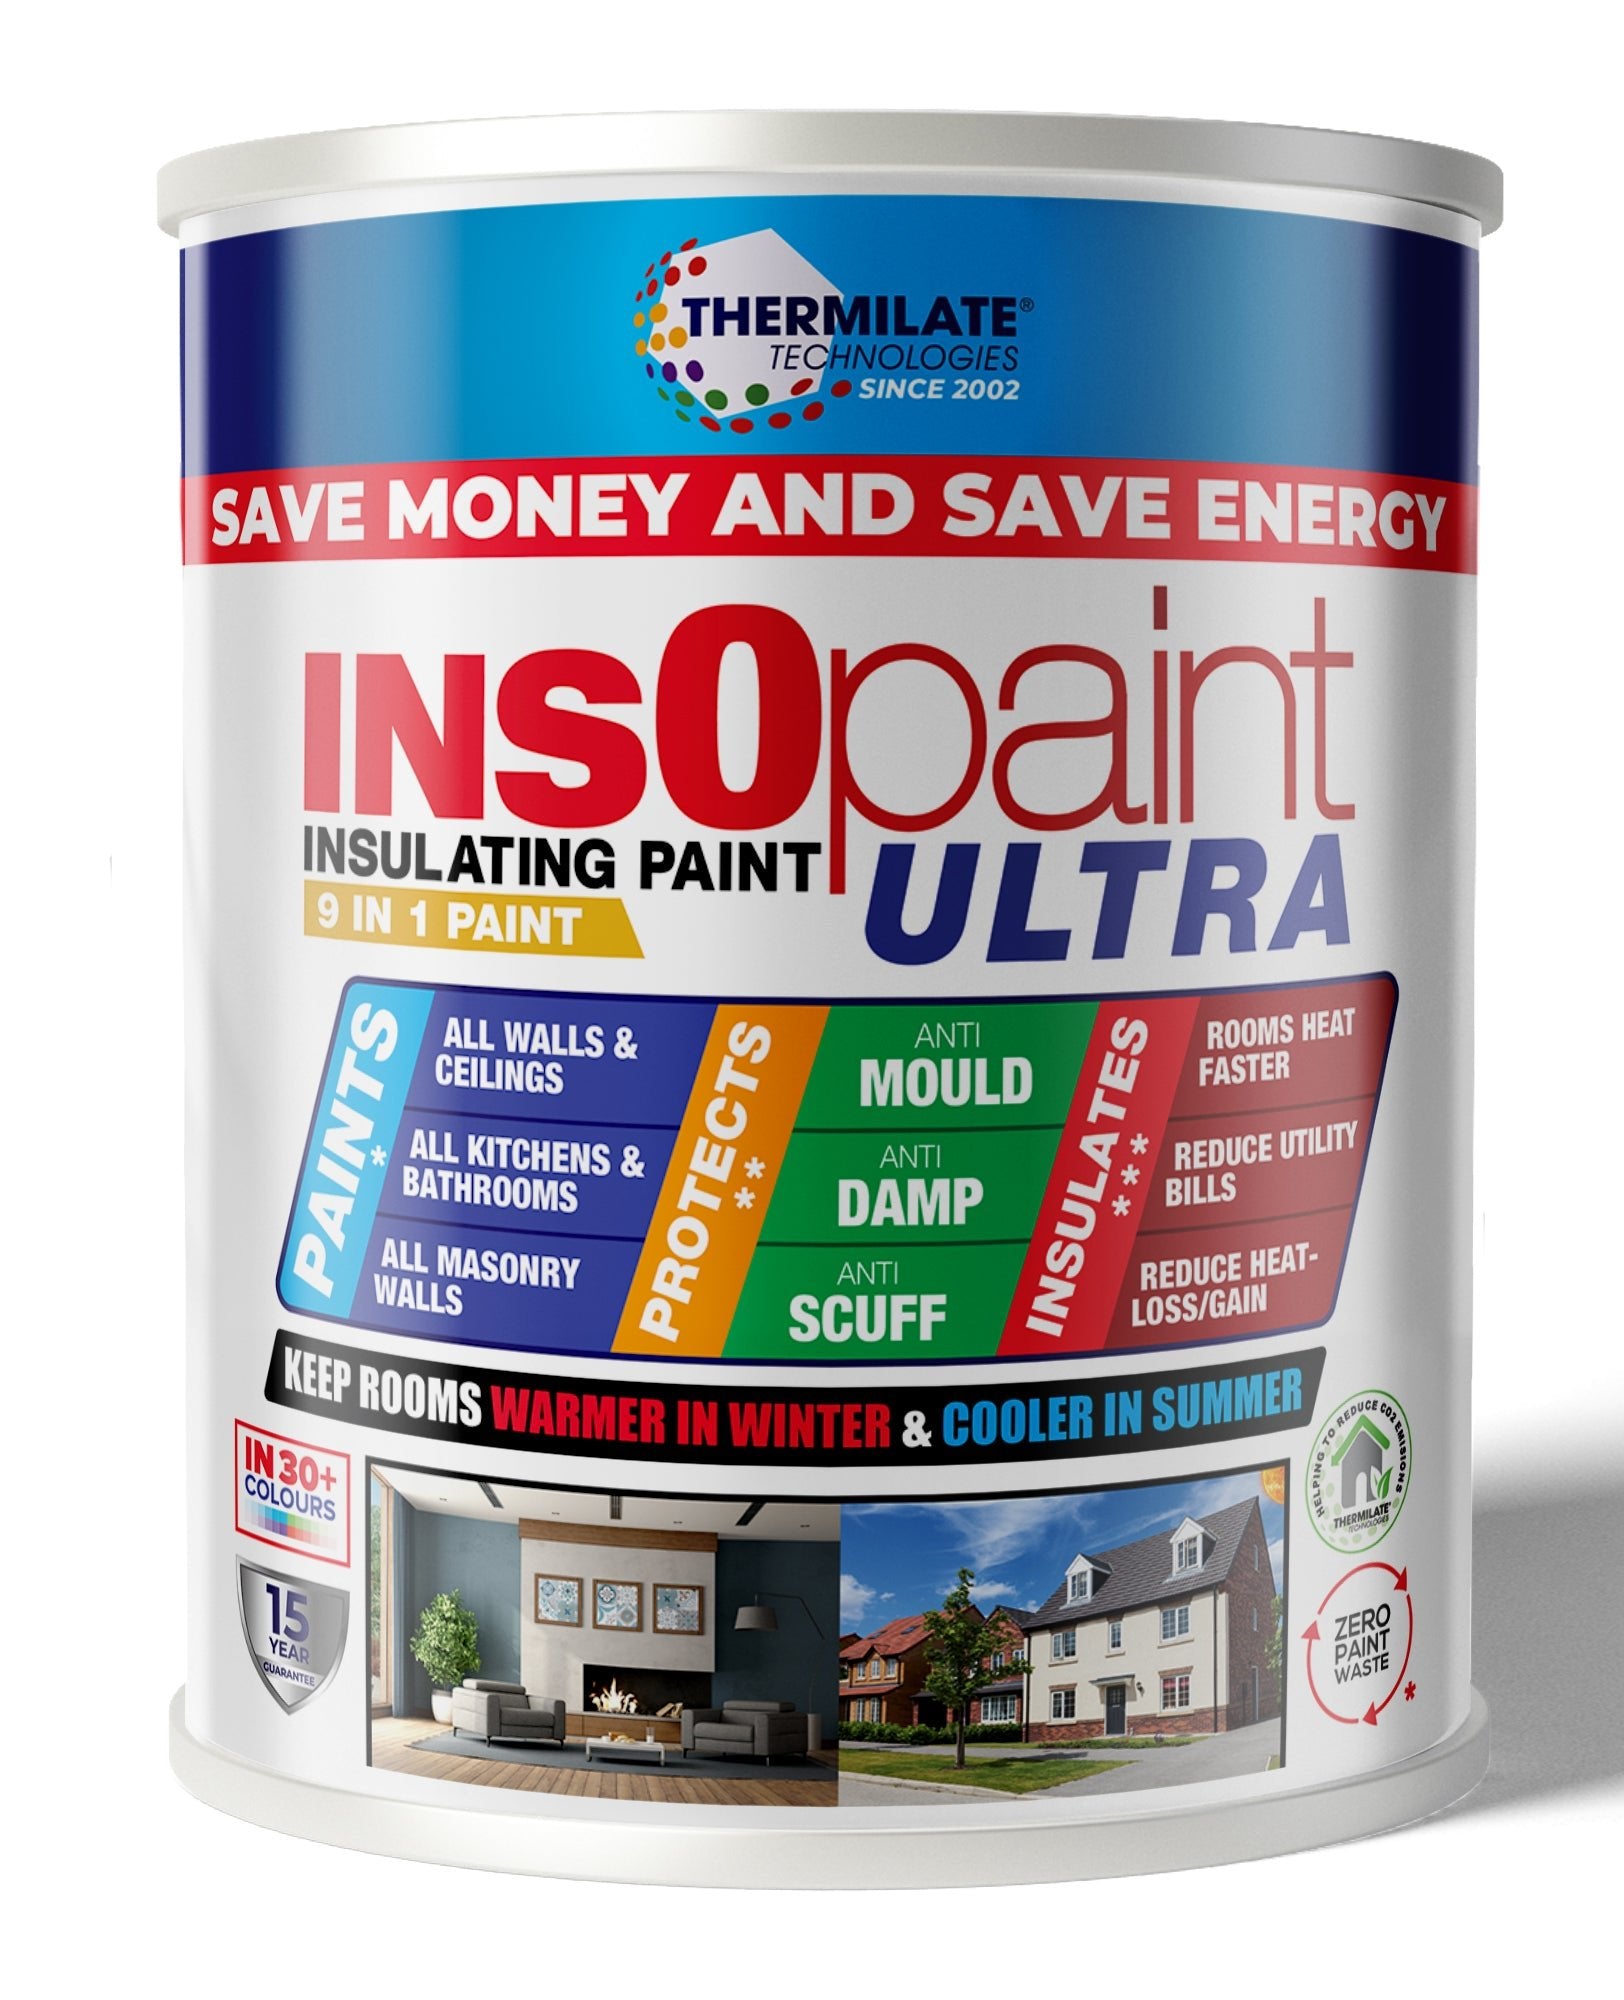
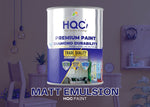
- HQC Matte Emulsion Paint or InsOpaint Ultra for superior coverage and durability.
- HQC Stabilising Universal Primer for unpainted or porous surfaces.
- Paintbrushes: For cutting in around edges and trim.
- Rollers: For covering larger areas evenly.
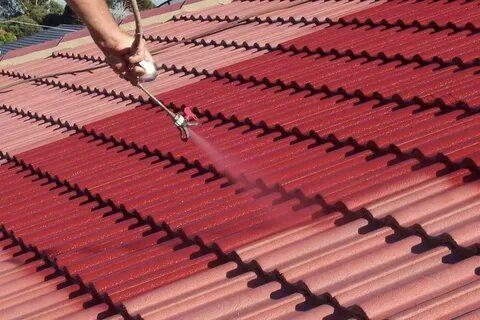
- Sprayer: Optionally, you can use a paint sprayer for fast and even coverage.
- Painter’s tape: To protect trim, windows, and outlets.
- Drop cloths: To cover the floor and furniture.
- Sandpaper: For smoothing rough surfaces.
- Sugar soap: For cleaning walls.
Step 2: Prepare the Room
Proper preparation is key to achieving a professional-looking result. Follow these steps to prepare your room:
- Move Furniture: Clear as much furniture as possible, or move it to the centre and cover it with drop cloths.
- Clean the Walls: Use sugar soap to remove any dirt, dust, or grease. Make sure the walls are dry before moving on.
- Remove Loose Paint and Repair Surfaces: Remove all loose and defective paint, and repair any loose plaster/render on walls. Sand down any wood surfaces. Use primer if required, and this should be applied on most unpainted surfaces, including metal surfaces.
- Sand and Clean: Rub down the surface with light sandpaper or sugar soap where the surface has already been painted. (If your surface has not been painted, use primer accordingly.)
- Tape Off Trim and Edges: Use painter’s tape to protect the edges of your trim, windows, and outlets.
Step 3: Apply Primer (If Necessary)
If you're painting over bare walls, or if the surfaces are porous (e.g., fresh plaster, brick, stone, or concrete), applying a primer is essential for even coverage and proper adhesion.
- Pro Tip: For absorbent surfaces like fresh plaster, bricks, stone, or concrete, you can make a mist coat by mixing your first coat of paint with 50% water. This must be applied to the bare surfaces and allowed to soak in and dry for 8 hours. We recommend using a stabilizing primer from HQC which will give you a very good surface to paint on to.
Use HQC Stabilizing Universal Primer for these surfaces to seal and prepare them for painting.
Step 4: Start Painting the Room
Now that your room is prepped and primed, it’s time to start painting. You can use a brush, roller, or spray to apply the paint, depending on the size of the area and your personal preference.
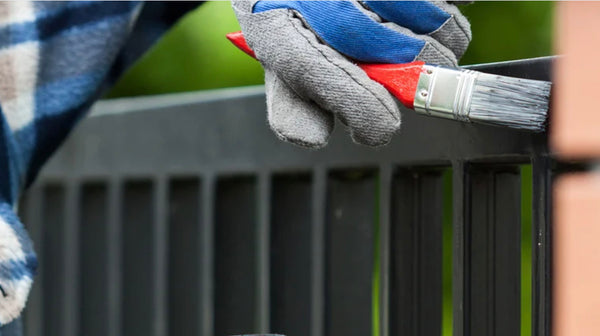
- Cut In First: Begin by painting the edges and corners of the room using a brush. Cut in around the ceiling, baseboards, windows, and door frames.
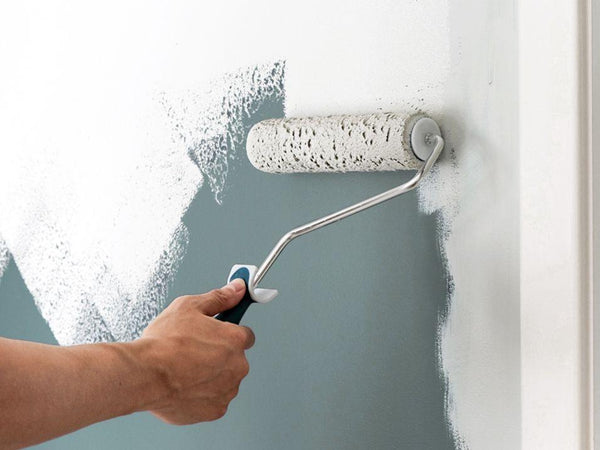
- Use a Roller or Spray for Large Areas: For larger sections of the wall, use a roller or a paint sprayer. Work in a "W" motion with the roller to ensure even coverage. Apply thin, even coats to avoid streaks or drips.
- Let the Paint Dry: Allow the first coat to dry for 4–6 hours before applying a second coat. For a more vibrant and durable finish, apply a second coat using the same method.
- Pro Tip: Always mix paint from multiple containers in one large bucket to ensure colour consistency.
Step 5: Inspect and Touch Up
After the second coat has dried, inspect the walls for any areas that may need touch-ups. Use a small brush to go over missed spots or thin areas.
Step 6: Clean Up
Once you’re satisfied with the coverage, it’s time to clean up:
- Remove Painter’s Tape: Remove the tape while the paint is still slightly wet to avoid peeling any paint off with it.
- Clean Your Tools: Clean your brushes, rollers, and sprayer thoroughly with warm water for future use.
- Rearrange the Room: Once the paint is fully dry, remove the drop cloths and move your furniture back into place.
Recommended Paint Products
For the best results when painting interior rooms, we recommend the following products from PaintOutlet.co.uk:
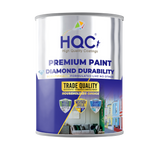
- HQC Matte Emulsion Paint: Ideal for living rooms, bedrooms, and other interior spaces, offering a smooth and durable finish.
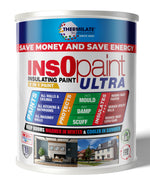
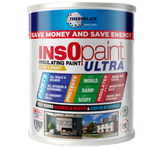
- InsOpaint Ultra: Perfect for rooms where you need additional insulation and energy savings.
- HQC Stabilising Universal Primer: Use this for all unpainted or porous surfaces to ensure a perfect topcoat.
FAQ Section
Q: What is the best type of paint to use for interior rooms?
A: Matte or satin finishes are typically the best for interior walls. They offer a smooth, even look and help hide minor imperfections.
Q: How many coats of paint should I apply?
A: It’s recommended to apply at least two coats of paint for even coverage and a vibrant finish.
Q: How long should I wait between coats?
A: Wait 4-6 hours between coats to allow the paint to dry fully before applying the next layer.
Conclusion
No matter what you are painting, proper preparation and technique are key to a successful project. By following these steps and using the recommended high-quality products from PaintOutlet.co.uk, you can achieve a professional, long-lasting finish in your interior rooms. Whether you choose to use a brush, roller, or sprayer, starting with thorough preparation will ensure the best results.
Why shop at PaintOutlet? By shopping with PaintOutlet, you’re saving paint waste, saving money, and saving time while using the highest quality paints and products, all made in-house. We’re on a mission to reduce carbon emissions and put the environment before profit—unlike many factories that prioritize profit over sustainability.


