


Introduction
Painting interior trim and moulding requires precision and attention to detail to achieve clean lines and a professional finish. Proper surface preparation and using the right products will ensure your trim and moulding look sharp and long-lasting. In this guide, we’ll take you step by step through how to paint, trim and mould, ensuring perfect edges and a smooth finish every time.
Surface Preparation is the most important step when painting. If avoided, it can affect the whole outcome of your project. Surfaces must be prepared correctly for the paint to adhere and bond to the surfaces. Poor preparation will result in peeling and flaking, resulting in premature failure of the paint. Good preparation will give you a very long-lasting paint performance.
Step 1: Gather Your Materials
Before you begin, ensure you have the following tools and materials:
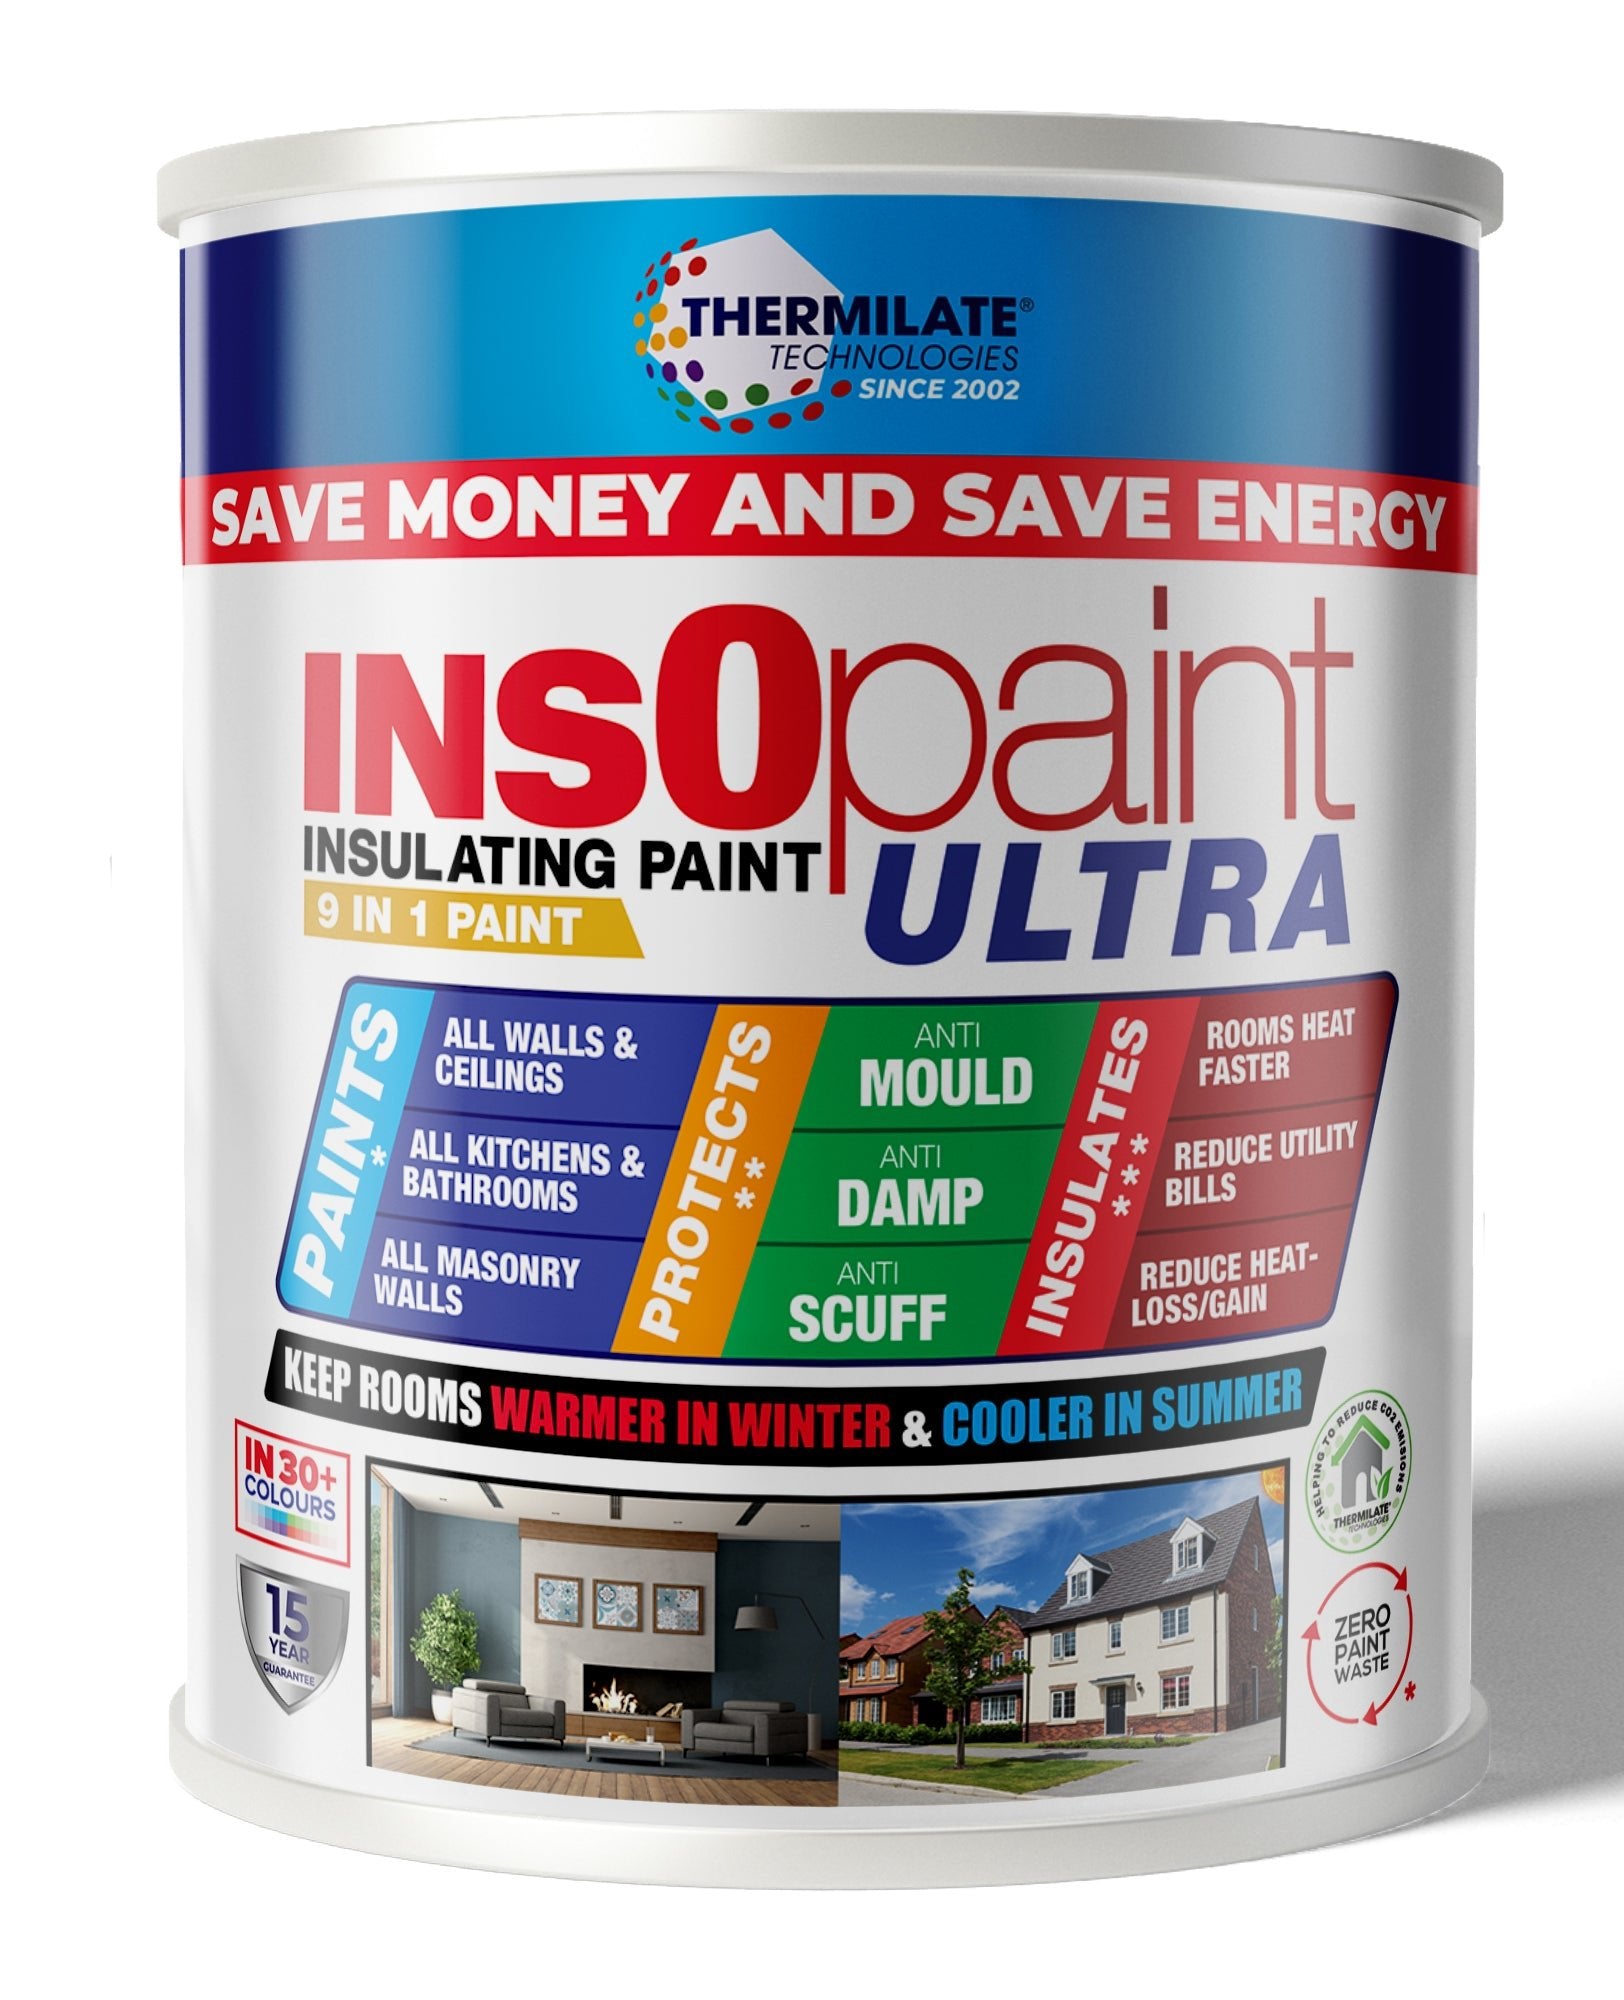
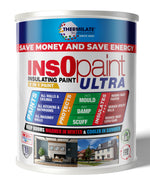
- InsOpaint Ultra: Ideal for trim and moulding, adding insulating benefits and a smooth finish.
- HQC Satin Wood Paint: Perfect for durable, sharp-looking trim and moulding.
- Primer (if needed): Use Thermilate Trade WarmTouch Universal Primer if you are painting over bare wood.
- Painter’s tape: To create clean edges and protect adjacent areas.
- Sanding block or sandpaper: For smoothing the surfaces before painting.
- Small brush or angled brush: To paint detailed trim and moulding.
- Drop cloths or plastic sheets: To protect floors and other surfaces from drips.
Step 2: Prepare the Surface
To achieve clean lines and a smooth finish, start with proper surface preparation:
- Clean the Trim and moulding: Use a damp cloth to clean off any dust, dirt, or grease. Let it dry completely.
- Sand the Surfaces: Lightly sand the trim and moulding to smooth out imperfections and help the paint adhere better.
- Remove Loose Paint: Scrape off any flaking or peeling paint. Fill any cracks or dents with wood filler and sand smooth.
- Prime if Necessary: If you’re painting over bare wood, apply Thermilate Trade WarmTouch Universal Primer to ensure even coverage and long-lasting durability.
Step 3: Apply Painter’s Tape
Using painter’s tape will help create clean, crisp lines:
- Mask Off Adjacent Areas: Apply painter’s tape along the edges where the trim meets the walls or floor to protect adjacent surfaces from paint splatters.
- Press the Tape Firmly: Ensure the tape is pressed down firmly to prevent paint from seeping under it.
Step 4: Paint the Trim and moulding
Now that your surface is prepared, it’s time to start painting:
- Cut In with a Brush: Use a small or angled brush to paint the edges of the trim and moulding first. This allows you to control the paint application around detailed areas.
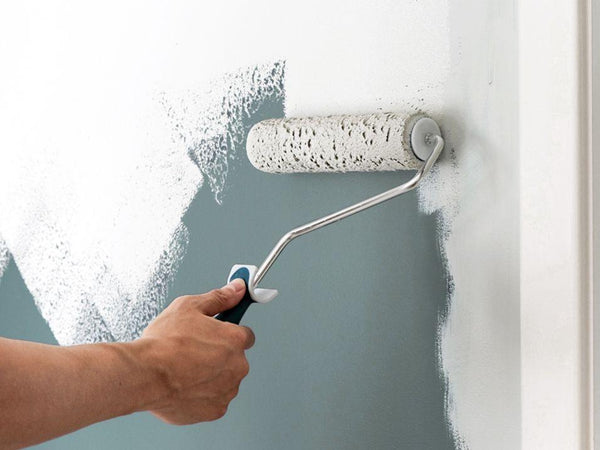
- Apply the First Coat: After cutting in, apply the first coat of InsOpaint Ultra or HQC Satin Wood Paint. Use long, smooth strokes to avoid visible brush marks.
- Let the Paint Dry: Allow the first coat to dry for 4-6 hours, depending on the paint.
- Apply a Second Coat (If Needed): If you need more coverage or want a sharper finish, apply a second coat after the first has dried.
Step 5: Finishing Touches
After the paint has dried, it’s time to inspect and finish the job:
- Remove the Painter’s Tape: Carefully remove the tape while the paint is still slightly damp to avoid peeling.
- Inspect for Touch-Ups: Check the trim and moulding for any areas that may need touch-ups and apply paint as necessary.
Tips for Perfect Edges
- Use High-Quality Brushes: A high-quality brush will give you more control and help you create cleaner lines.
- Keep a Steady Hand: Painting trim and moulding requires precision. Take your time to avoid streaks and uneven lines.
- Use Painter’s Tape: This will help you achieve crisp edges and avoid getting paint on walls or floors.
Recommended Products
For painting trim and moulding, we recommend the following products from PaintOutlet.co.uk:
- InsOpaint Ultra: Provides insulating benefits while giving trim and moulding a smooth, long-lasting finish.
- HQC Satin Wood Paint: Ideal for a durable, sharp look on trim and moulding.
- Thermilate Trade WarmTouch Universal Primer: Perfect for ensuring even coverage and protection on bare wood surfaces.
FAQ Section
Q: How can I achieve clean lines when painting trim?
A: Use painter’s tape to protect adjacent areas and a high-quality brush to control paint application. Take your time with precise strokes for the best results.
Q: Should I sand trim before painting?
A: Yes, sanding the trim will smooth the surface and help the paint adhere better. Lightly sand between coats for a smooth finish.
Q: How many coats of paint do I need on trim and moulding?
A: Most trim and moulding require two coats for full coverage and a durable finish. Let each coat dry completely before applying the next.
Conclusion
Painting interior trim and moulding can elevate the look of your space with crisp, clean lines and a smooth finish. By following this guide and using high-quality products from PaintOutlet.co.uk, you can achieve professional results that last. Whether you’re refreshing existing trim or painting new moulding, these tips will help you achieve a flawless finish.