


Introduction
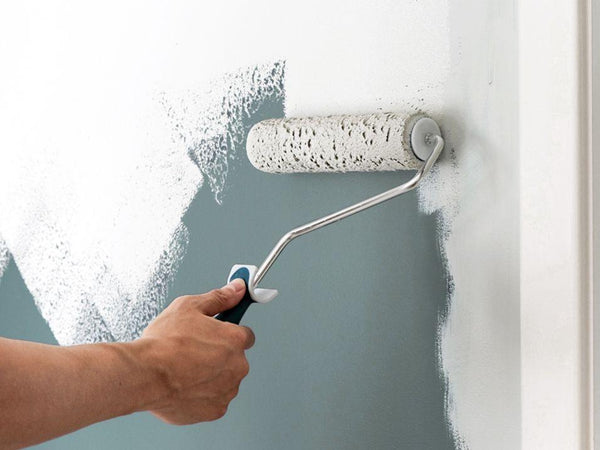
A freshly painted fence can enhance the appearance of your outdoor space while protecting the wood from the elements. Fences are exposed to sun, rain, and temperature changes, so using the right paint and techniques is key to achieving a long-lasting finish. Surface preparation is the most important step when painting, especially for outdoor surfaces like fences.
In this guide, we’ll take you through the process of painting your fence to ensure it looks great and is well-protected.
Step 1: Gather Your Materials
Before you start painting, make sure you have the right materials:
- HQC Fence Paint, HQC Wood Paint, or InsOpaint Ultra for a weather-resistant finish. InsOpaint Ultra also provides insulating benefits, helping protect the wood from temperature fluctuations.
- HQC Stabilising Universal Primer for priming the fence.
- Paintbrushes: For detailed work on edges and corners.
- Rollers or paint sprayer: For evenly applying paint to large fence areas.
- Pressure washer or hose: To clean the fence surface before painting.
- Sandpaper: To smooth and prepare the wood.
- Wood filler: To repair any cracks or holes.
- Painter’s tape: To protect nearby areas, like the posts or ground.
Step 2: Prepare the Fence
Proper preparation is critical for a long-lasting and smooth finish:
- Clean the Fence: Use a pressure washer or hose to remove dirt, dust, and grime from the fence. Allow the fence to dry completely before proceeding.
- Sand the Surface: Lightly sand the wood to remove any rough patches or old paint. This helps the paint adhere better.
- Repair Any Damage: Use wood filler to repair any cracks, holes, or damage. Once dry, sand the filler smooth.
- Tape Off Areas: Use painter’s tape to protect areas you don’t want painted, like nearby structures or decorative features.
Step 3: Apply Primer
Applying a primer ensures proper adhesion and a long-lasting paint finish, especially for fences exposed to the elements.
- Pro Tip: For porous wooden fences, apply a mist coat by mixing the first coat of primer with 50% water to seal the surface. We recommend using HQC Stabilising Universal Primer to seal and prepare the wood.
Step 4: Start Painting the Fence
Once the fence is prepped and primed, it’s time to start painting:
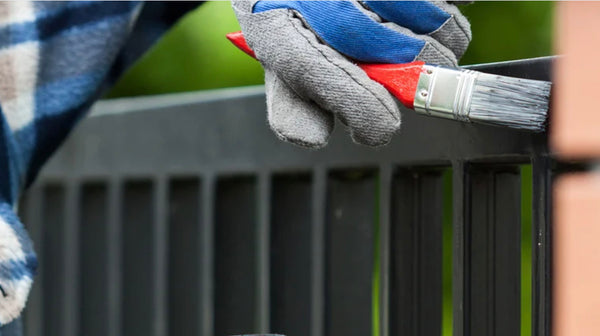
- Cut In with a Brush: Start by painting the edges, corners, and detailed areas with a brush.
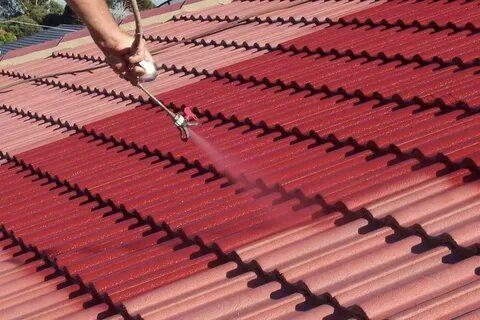
- Roll or Spray for Larger Areas: Use a roller or sprayer to evenly cover the large sections of the fence. A paint sprayer can be particularly helpful for speeding up the process on large fences.
- Apply the First Coat: Apply one coat of paint and let it dry. If needed, apply a second coat for a richer, more durable finish.
- Let the Paint Dry: Allow the first coat to dry for 4-6 hours before applying the second coat, if necessary.
Step 5: Inspect and Touch Up
After the second coat has dried, inspect the fence for any spots that need additional coverage or touch-ups. Use a small brush for any detailed fixes.
Step 6: Clean Up
Once the project is finished, clean up the area and your tools:
- Remove Tape: Remove painter’s tape while the paint is still slightly wet to avoid peeling off dried paint.
- Clean Your Brushes, Rollers, or Sprayer: Clean your tools with warm water for future use.
Recommended Products
For the best results when painting fences, we recommend using the following products from PaintOutlet.co.uk:
- HQC Fence Paint: Provides excellent protection and a smooth, durable finish for outdoor fences.
- HQC Wood Paint: A great option for wooden fences, offering a durable and weather-resistant finish.
- InsOpaint Ultra: Offers excellent durability with insulating properties, protecting your fence from temperature changes.
- HQC Stabilising Universal Primer: Ensures proper adhesion and a long-lasting finish.
FAQ Section
Q: What is the best paint to use for a fence?
A: We recommend HQC Fence Paint, HQC Wood Paint, or InsOpaint Ultra, all of which provide excellent protection and durability for outdoor wood. InsOpaint Ultra also has thermal insulating properties, making it ideal for fences exposed to temperature fluctuations.
Q: How many coats of paint should I apply to a fence?
A: Apply at least two coats of paint for even coverage and long-lasting protection, especially for outdoor fences exposed to the elements.
Q: Should I always prime a fence before painting?
A: Yes, priming is essential to ensure proper adhesion and a long-lasting finish, especially for outdoor wooden surfaces.
Conclusion
Painting your fence can improve the look of your outdoor space while providing essential protection from the elements. By following this guide and using high-quality products from PaintOutlet.co.uk, you’ll achieve a beautiful, long-lasting finish.
When you shop with PaintOutlet, you’re saving paint waste, saving money, and saving time while using the highest quality paints and products made in-house. We’re on a mission to reduce carbon emissions and prioritise environmental sustainability over profit.