


Introduction
Your fireplace is often the focal point of your living room, and giving it a fresh coat of paint can enhance its appearance and create a stunning visual impact. Surface preparation is the most important step when painting your fireplace to ensure a smooth, durable finish.
In this guide, we’ll show you how to paint your fireplace, ensuring a long-lasting and beautiful result.
Step 1: Gather Your Materials
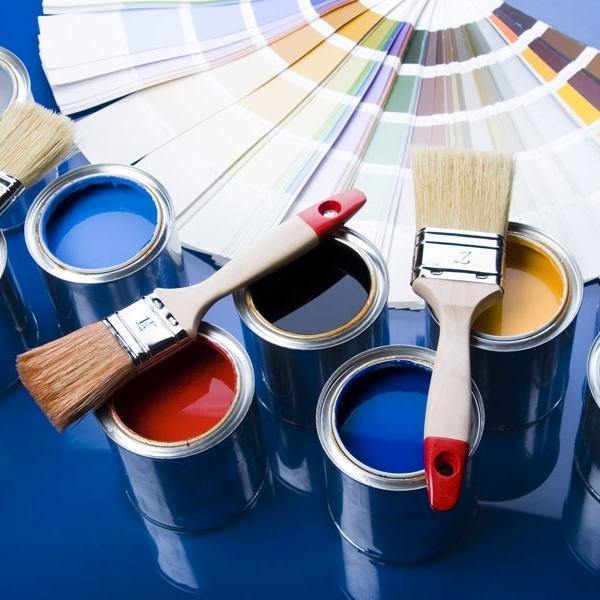
Before you start, make sure you have all the necessary materials:
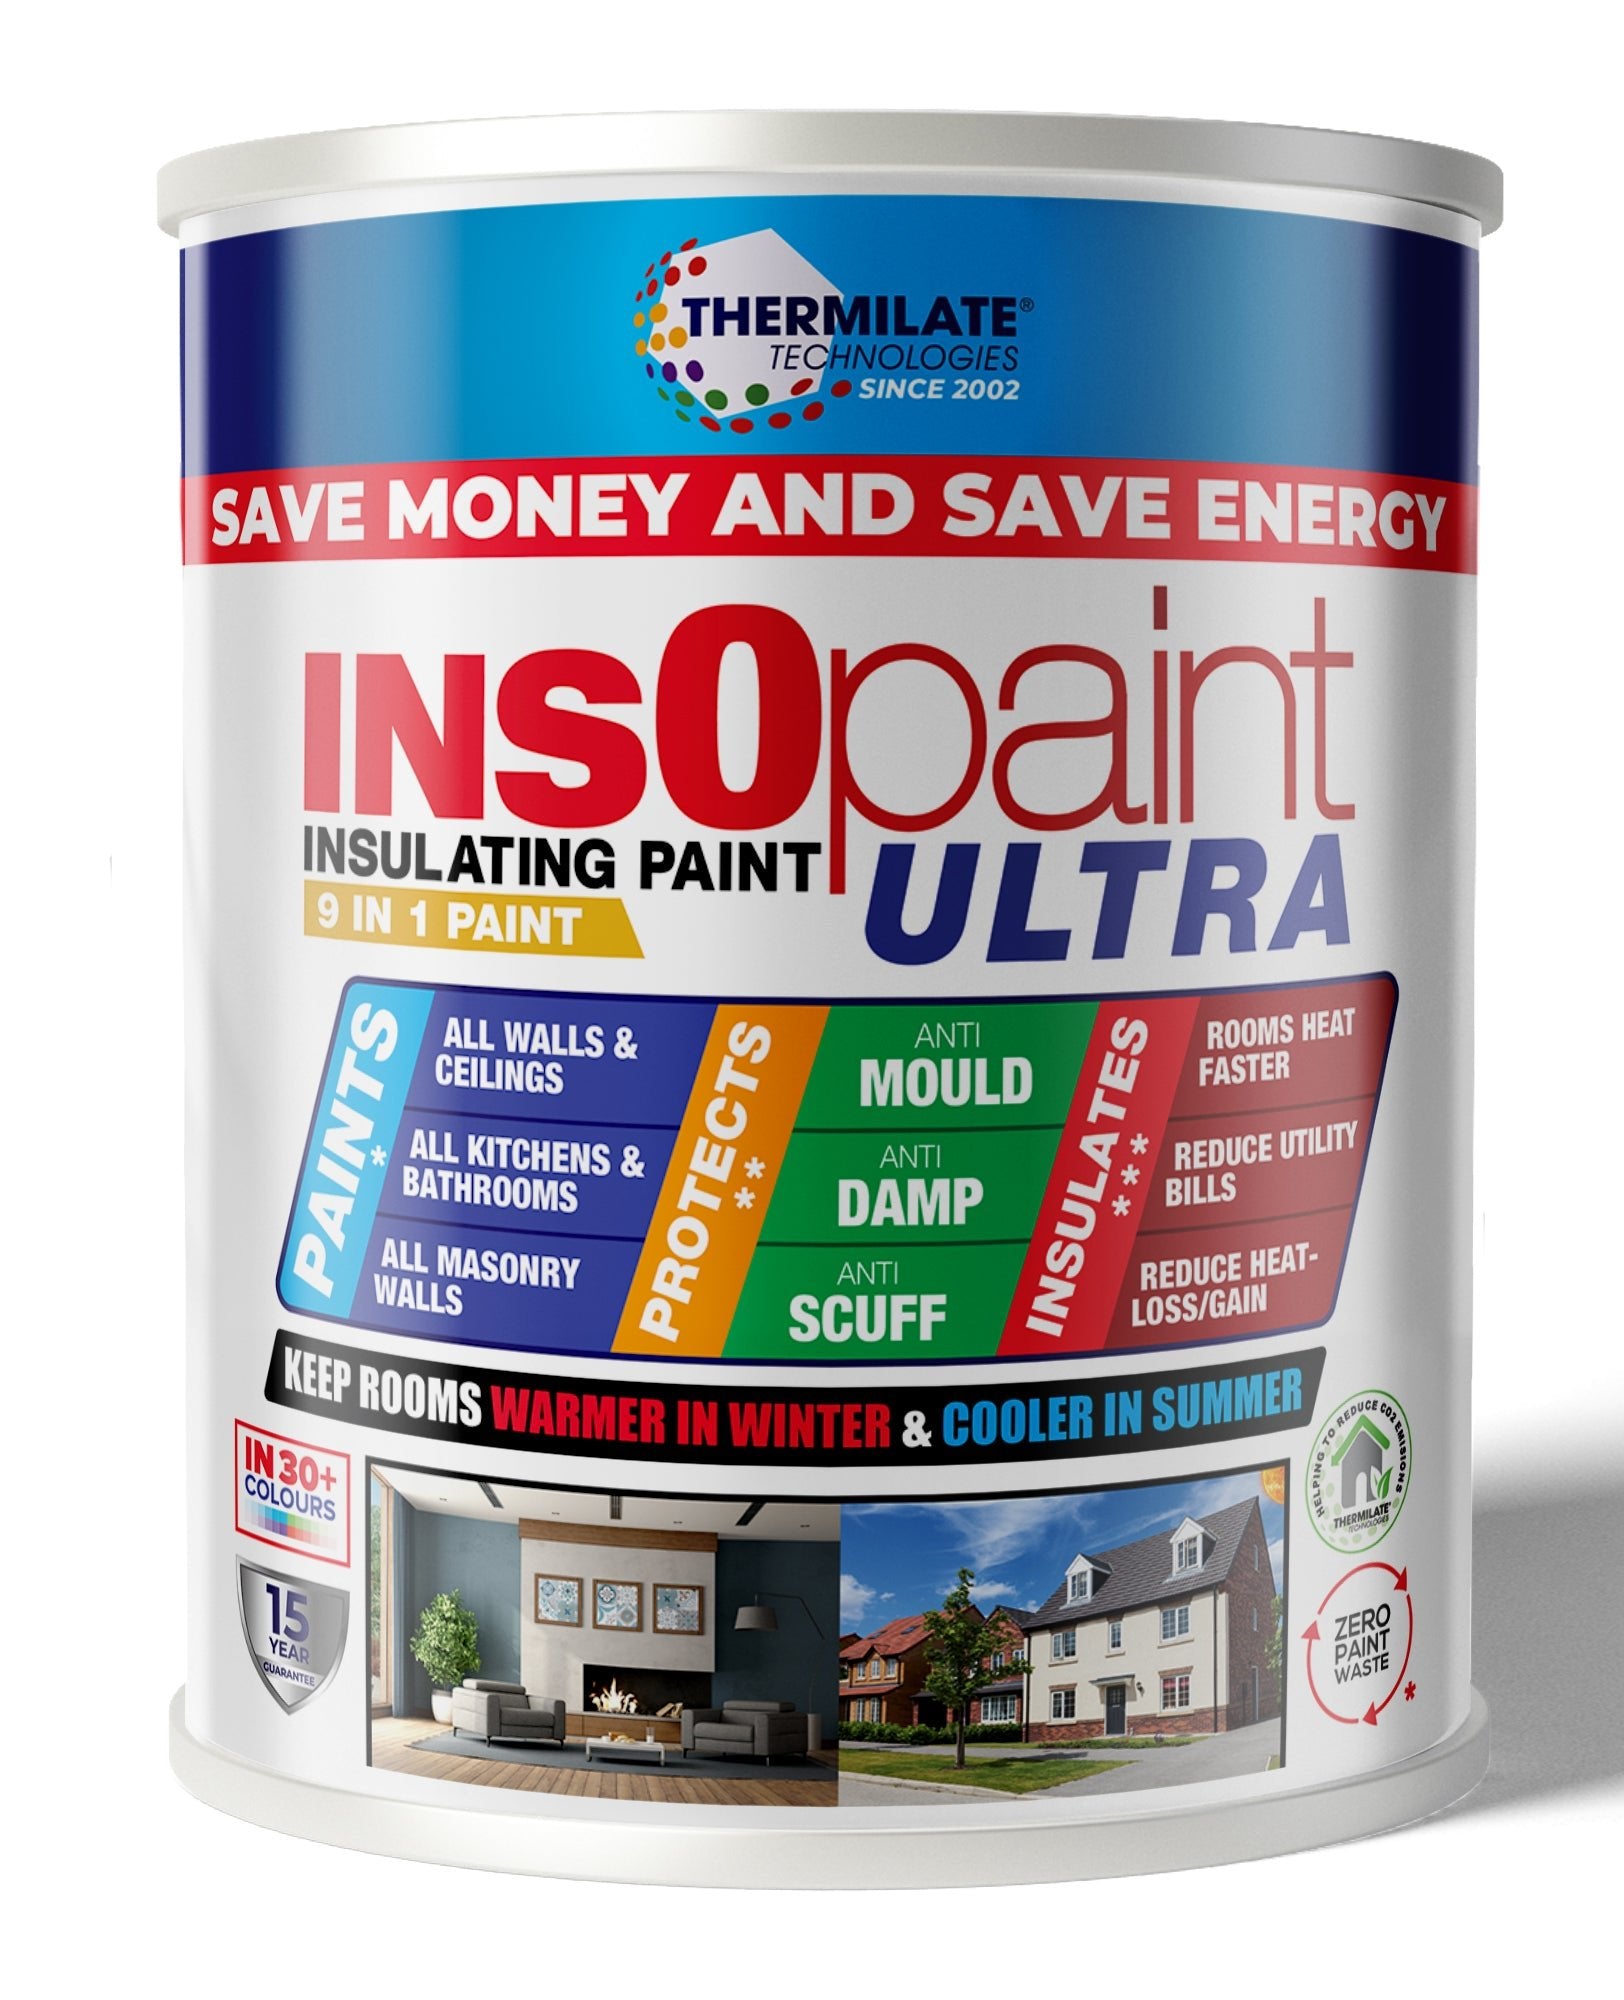
- HQC Paint or InsOpaint Ultra for a durable and smooth finish.
- HQC Stabilising Universal Primer for priming the fireplace.
- Paintbrushes: For detailed work around the fireplace.
- Rollers: For evenly applying paint to larger sections of the fireplace.
- Painter’s tape: To protect the surrounding walls and mantel.
- Drop cloths: To protect the floor from paint splashes.
- Degreaser or cleaner: To clean soot and dirt from the fireplace.
Step 2: Prepare the Fireplace
To ensure a durable finish, it's important to properly prepare the fireplace:
- Clean the Surface: Use a degreaser or cleaner to remove any dirt, grime, or soot from the fireplace. Allow it to dry completely.
- Sand the Fireplace: Lightly sand the surface to smooth out any imperfections and create a surface that the paint can adhere to.
- Tape Off Areas: Use painter’s tape to protect the surrounding walls and mantel from paint splatters.
Step 3: Apply Primer
It’s essential to use a primer to help the paint adhere properly and ensure a long-lasting finish.
- Pro Tip: For porous brick or stone, apply a mist coat by mixing the first coat with 50% water to seal the surface. We recommend using HQC Stabilising Universal Primer for the best results.
Step 4: Start Painting the Fireplace
Once the surface is prepped and primed, it's time to start painting:
- Cut In First: Use a brush to paint the edges and detailed areas around the fireplace.
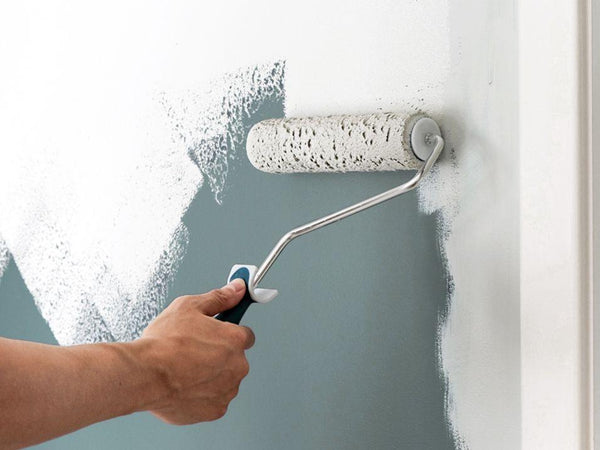
- Roll for Large Areas: Use a roller to evenly apply paint on larger, flat sections of the fireplace.
- Apply the First Coat: Apply one coat of paint first and let it dry. If necessary, apply a second coat for a richer finish.
- Let the Paint Dry: Allow the first coat to dry for 4-6 hours before applying a second coat.
Step 5: Inspect and Touch Up
Once the second coat has dried, inspect the fireplace for any areas that need touching up. Use a small brush to fix any uneven spots.
Step 6: Clean Up
After the painting is done, clean up your workspace and tools:
- Remove Tape: Remove the painter’s tape while the paint is still slightly wet to avoid peeling off dried paint.
- Clean Your Tools: Clean your brushes and rollers with warm water for future use.
Recommended Products
For the best results when painting fireplaces, we recommend the following products from PaintOutlet.co.uk:
- HQC Paint: Provides a smooth, durable finish that is ideal for fireplaces.
- InsOpaint Ultra: Offers durability and insulating benefits, making it a great option for regulating temperature around the fireplace.
- HQC Stabilising Universal Primer: Ensures proper adhesion for a long-lasting finish.
FAQ Section
Q: What is the best paint to use for fireplaces?
A: We recommend HQC Paint or InsOpaint Ultra, both of which provide a durable finish. InsOpaint Ultra also offers insulating properties, which help regulate the temperature around your fireplace.
Q: How many coats of paint should I apply to a fireplace?
A: Apply at least two coats of paint for even coverage and durability.
Q: Should I always prime a fireplace before painting?
A: Yes, priming is essential for fireplaces to ensure proper adhesion and a long-lasting finish.
Conclusion
Painting your fireplace can create a striking focal point in your living room. By following this guide and using high-quality products from PaintOutlet.co.uk, you’ll achieve a beautiful and smooth finish that stands the test of time.