


Introduction
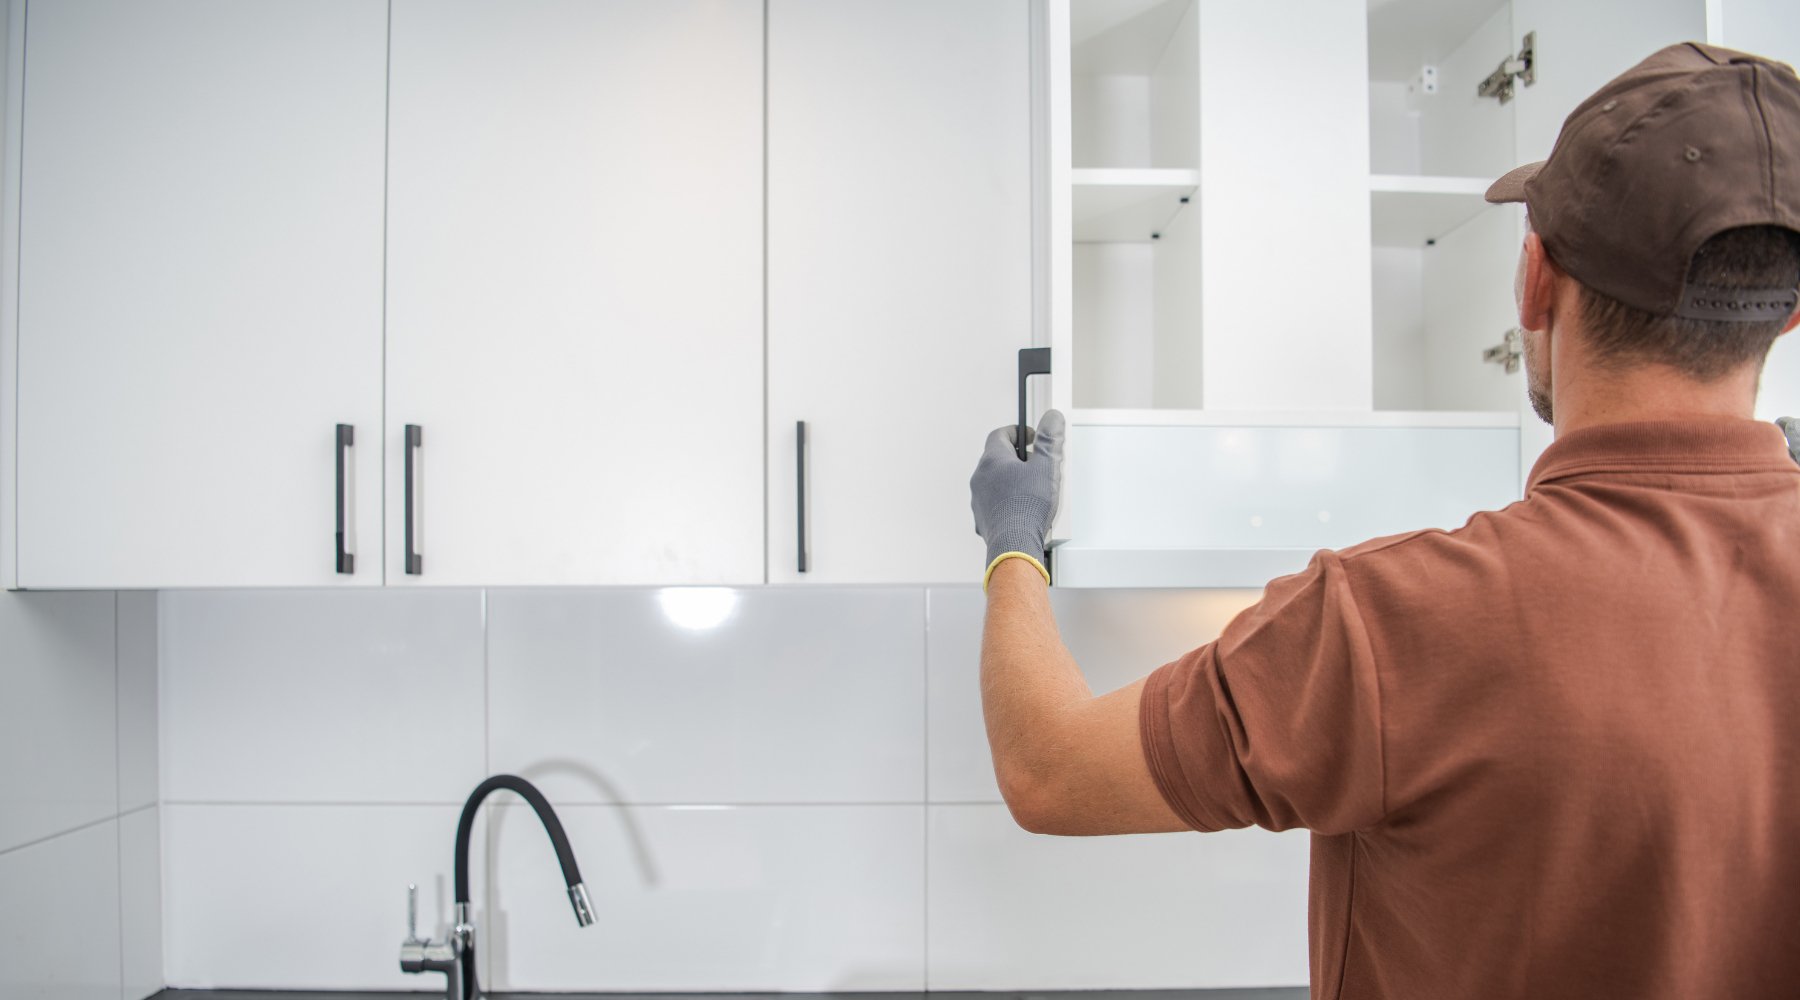
Painting your kitchen cupboards is an affordable and effective way to refresh the look of your kitchen without the expense of a full renovation. With the right paint and preparation, you can transform old, outdated cupboards into stylish, modern ones. Proper preparation is crucial to ensure that the paint adheres well and provides a durable, long-lasting finish.
In this guide, we’ll show you how to properly prepare and paint your kitchen cupboards for a fresh, updated look.
Step 1: Gather Your Materials
Before you start painting, ensure you have the following materials:
- HQC Furniture Paint, HQC Kitchen & Bathroom Paint, or Evelyn Grant Cupboard Paint for a durable and attractive finish.
- Degreaser or kitchen cleaner: To clean the cupboards before painting.
- Sandpaper or sanding block: To lightly sand the cupboard surface for better paint adhesion.
- Screwdriver: For removing cupboard doors and hardware.
- Paintbrushes and rollers: For applying the paint to detailed and large areas.
- Painter’s tape: To protect areas that don’t need painting, such as hinges or countertops.
- Drop cloths: To protect floors and countertops from paint drips.
Step 2: Prepare the Cupboards
Preparation is essential to ensure a smooth and long-lasting paint finish:
- Clean the Cupboards: Use a degreaser or kitchen cleaner to thoroughly clean the cupboards, removing any grease, dirt, or grime. This step is especially important in kitchens where oil and cooking residue can build up.
- Remove the Cupboard Doors and Hardware: Use a screwdriver to remove the cupboard doors, hinges, and handles. This makes it easier to paint the doors and frames separately.
- Sand the Surface: Lightly sand the cupboard doors and frames with sandpaper or a sanding block to roughen the surface. This helps the paint adhere better. Wipe away any dust with a damp cloth.
- Tape Off Areas: Use painter’s tape to cover areas you don’t want to paint, such as handles, hinges, or glass.
Step 3: Apply Primer (Optional)
For cupboards with a glossy finish or made from materials like laminate, applying a primer will help the paint adhere and provide a more durable finish:
- Optional: Apply HQC Stabilising Universal Primer to the cupboards, especially if they are made from laminate or glossy surfaces. Let the primer dry for 4-6 hours before painting.
Step 4: Start Painting the Cupboards
Once the cupboards are cleaned, sanded, and primed (if needed), it’s time to start painting:
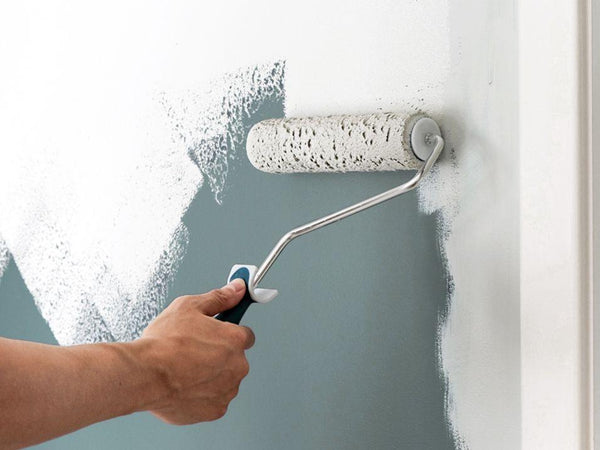
- Cut In with a Brush: Begin by painting the edges and detailed areas of the cupboard doors and frames using a brush.
- Roll for Larger Surfaces: For flat, larger areas like the door panels, use a roller to apply the paint evenly.
- Apply the First Coat: Apply a smooth, even coat of HQC Furniture Paint, HQC Kitchen & Bathroom Paint, or Evelyn Grant Cupboard Paint. Allow it to dry for 4-6 hours before applying a second coat if needed.
Step 5: Apply a Second Coat (If Needed)
For better coverage and a more durable finish, apply a second coat of paint after the first coat has fully dried. This will provide added protection, especially in high-use areas like the kitchen.
Step 6: Reassemble the Cupboards
Once the paint has fully dried, you can reassemble your cupboards:
- Remove the Painter’s Tape: Carefully remove the tape while the paint is still slightly wet to avoid peeling.
- Reattach the Doors and Hardware: Use a screwdriver to reattach the cupboard doors, hinges, and handles.
Step 7: Clean Up
After completing your painting project, clean up your workspace and tools:
- Clean Your Brushes and Rollers: Wash your brushes, rollers, and paint trays with warm water for future use.
- Tidy Up: Clean up any remaining dust, debris, or paint drips from your work area.
Recommended Products
For the best results when painting your kitchen cupboards, we recommend the following products from PaintOutlet.co.uk:
- HQC Furniture Paint: Provides a durable and smooth finish, perfect for kitchen cupboards.
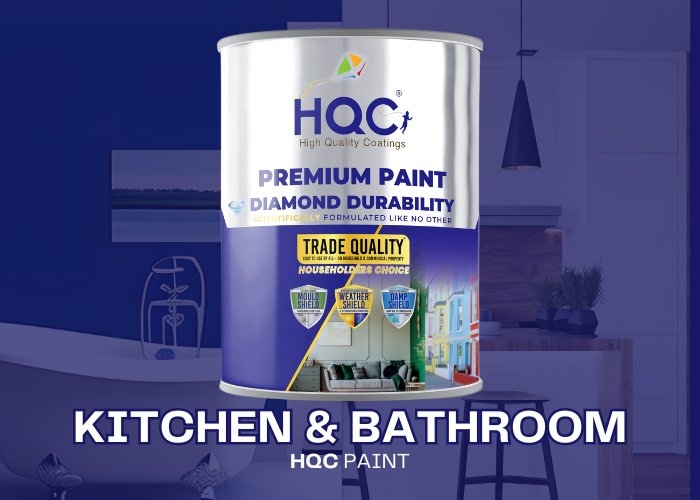
- HQC Kitchen & Bathroom Paint: Offers a highly durable, moisture-resistant finish ideal for kitchen and bathroom surfaces.
- Evelyn Grant Cupboard Paint: Adds a stylish, durable finish to cupboards with a vintage feel.
- HQC Stabilising Universal Primer: Ideal for priming glossy or laminate surfaces before painting.
FAQ Section
Q: What is the best paint to use for kitchen cupboards?
A: We recommend HQC Furniture Paint for a durable, smooth finish, HQC Kitchen & Bathroom Paint for moisture-resistant surfaces, or Evelyn Grant Cupboard Paint for a vintage, matte look.
Q: Should I prime my kitchen cupboards before painting?
A: Priming is recommended if the cupboards are glossy or made from laminate. It helps the paint adhere better and provides a longer-lasting finish.
Q: How many coats of paint should I apply to kitchen cupboards?
A: Typically, two coats are recommended for even coverage and durability, especially in a high-use area like the kitchen.
Conclusion
Painting your kitchen cupboards is an easy and cost-effective way to give your kitchen a fresh, updated look. By following this guide and using high-quality products from PaintOutlet.co.uk, you can achieve a professional-looking finish that will last for years. With the right preparation and paint, your kitchen will feel brand new without the need for a complete renovation.