How to Use Thermal Mix Paint Additive: A Step-by-Step Guide
Introduction
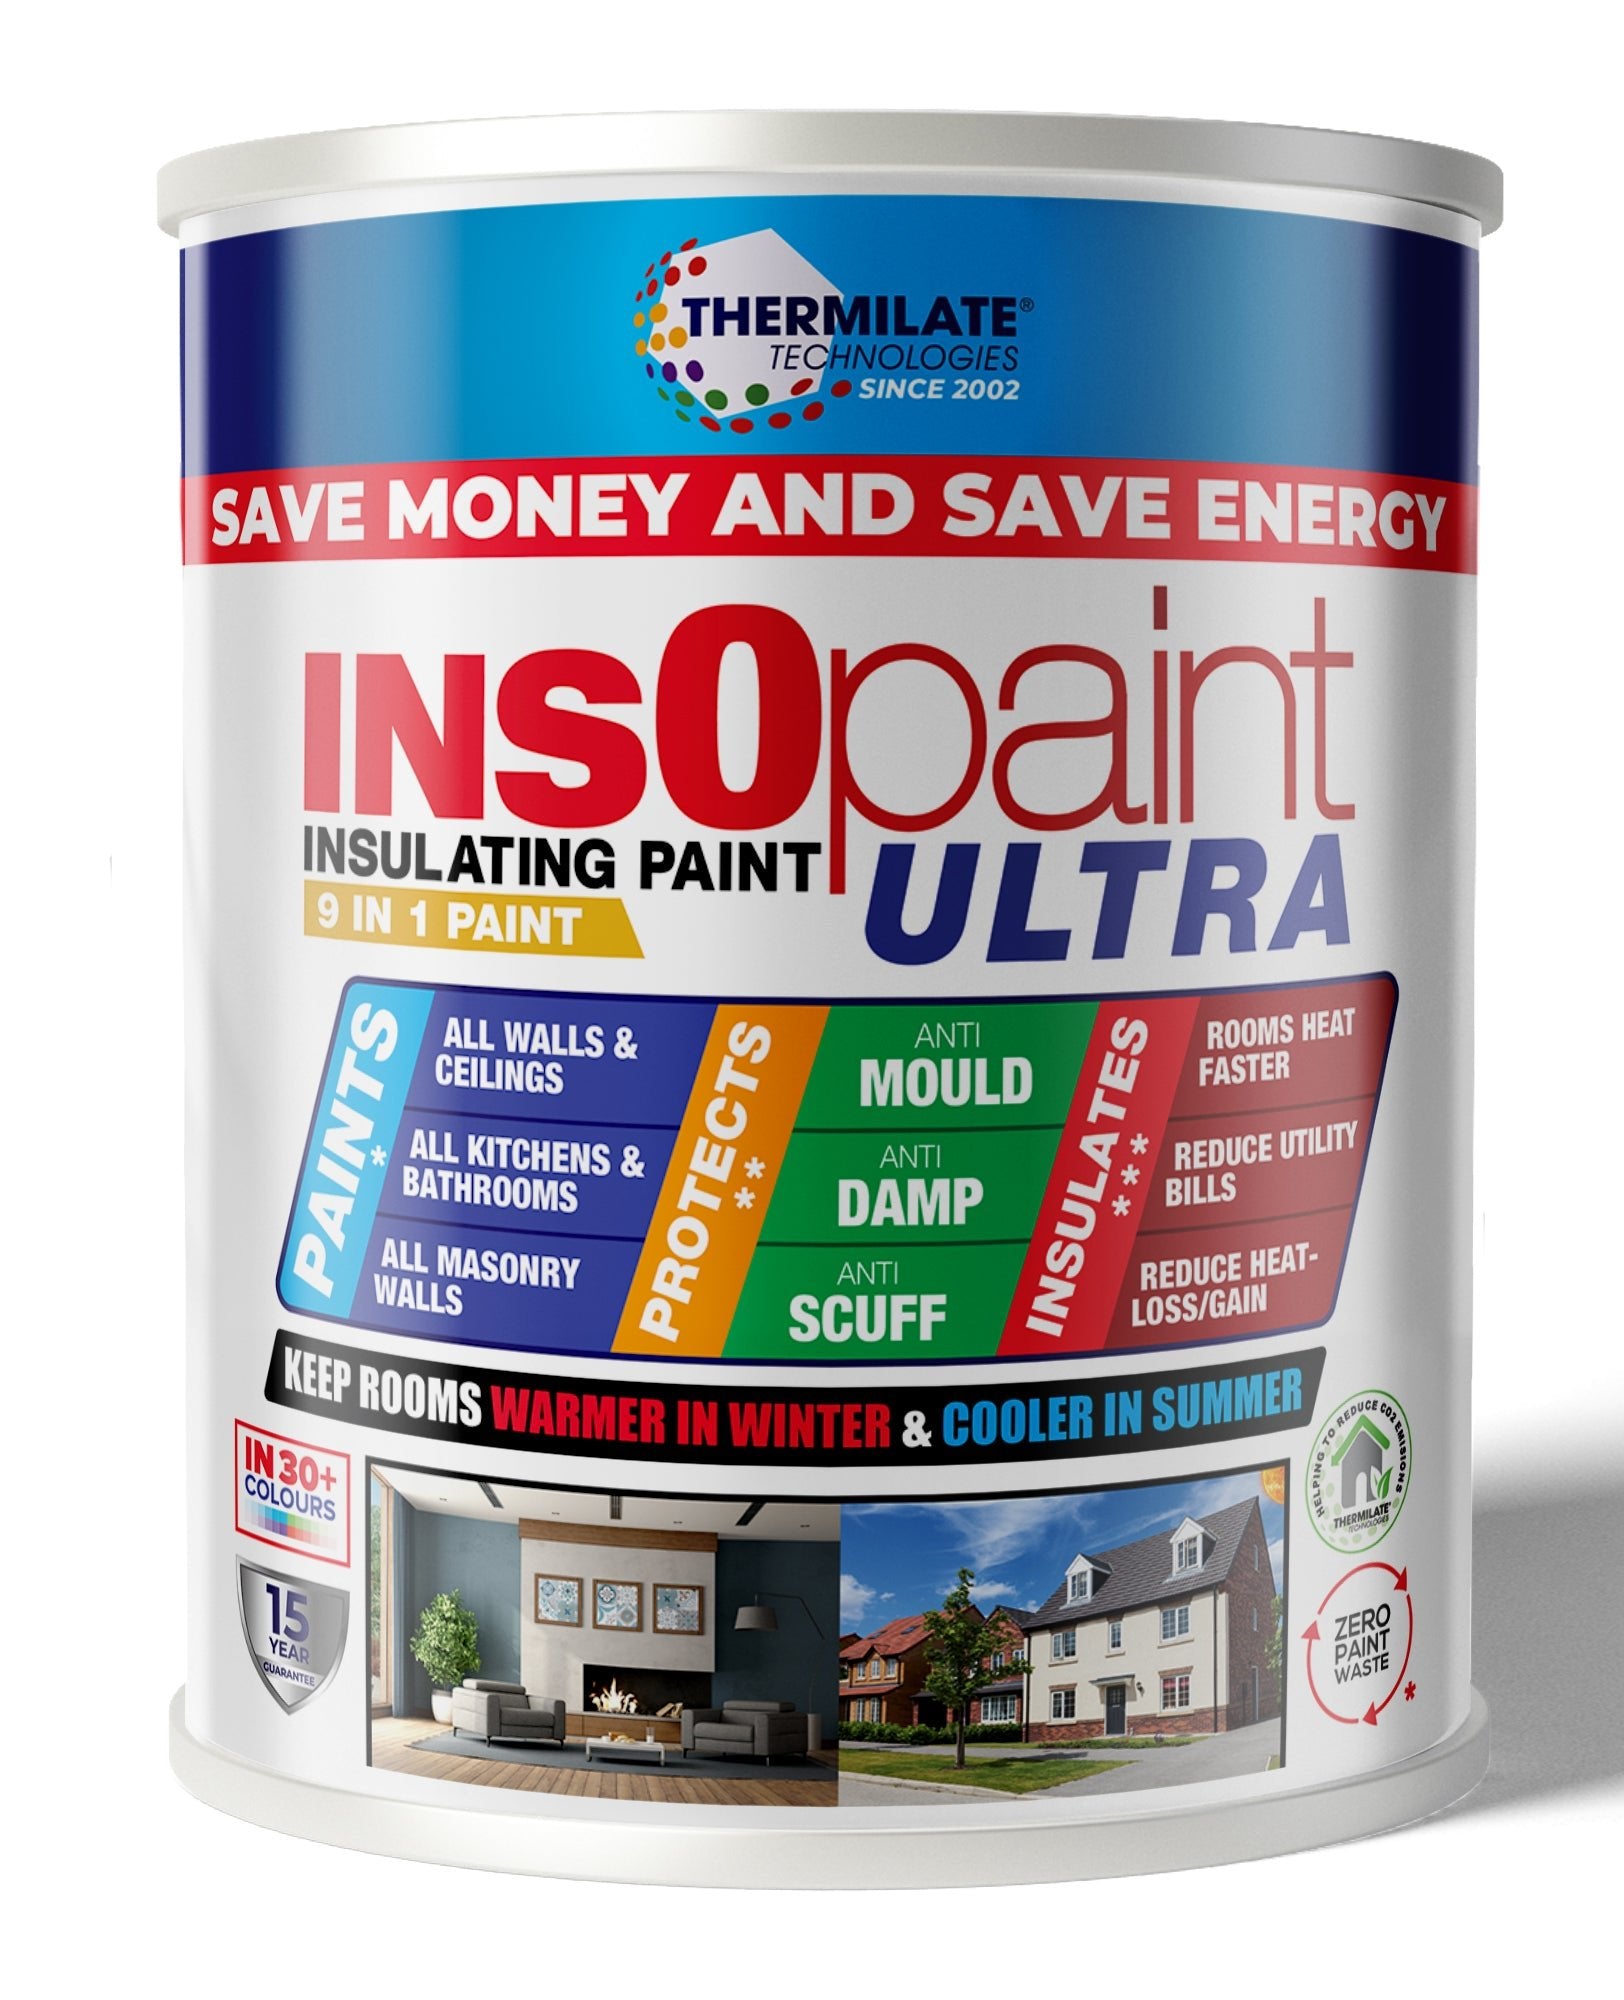
Thermal mix paint additives are an excellent way to enhance your paint’s insulating properties. These additives help keep spaces warmer in the winter and cooler in the summer by reducing heat loss or gain through walls. When added to regular paint, thermal additives create a thermal barrier that improves energy efficiency and comfort. Proper mixing and application ensure that the additive is fully integrated with the paint for maximum effectiveness.
In this guide, we’ll walk you through how to correctly mix and apply a thermal mix paint additive to your paint for enhanced insulation and energy savings.
Step 1: Gather Your Materials
Before starting, ensure you have the following materials:
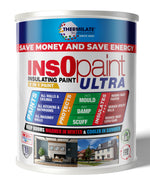
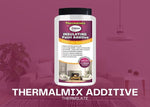
- Thermal Mix Paint Additive: Specifically designed to be added to paint for improved thermal insulation.
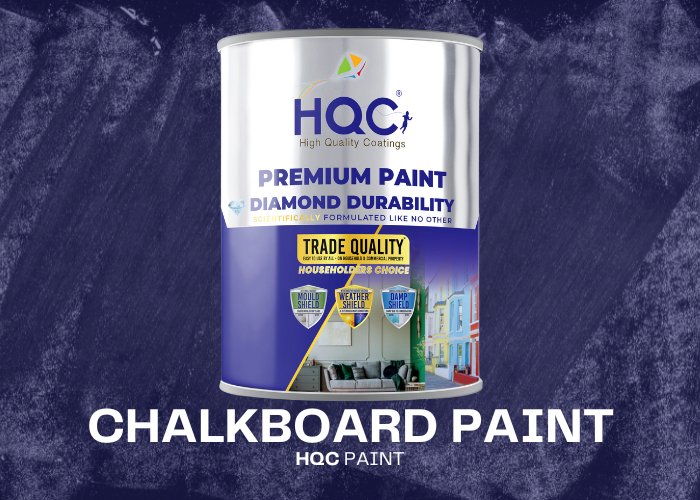
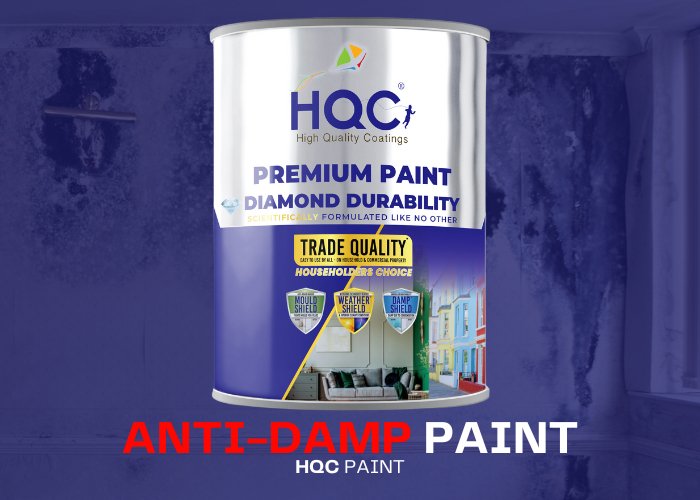
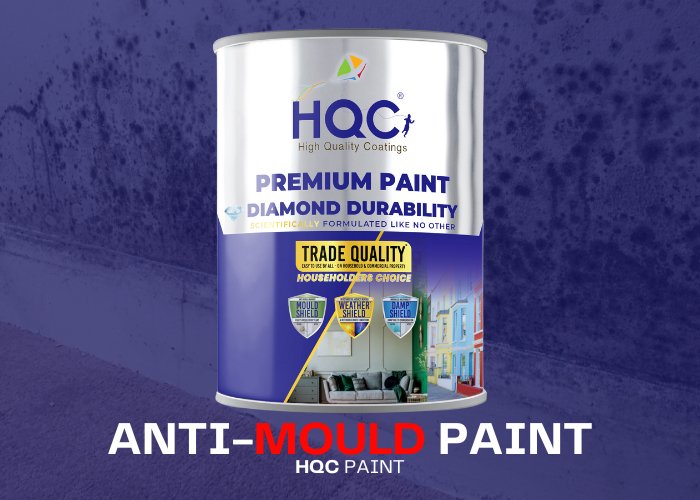
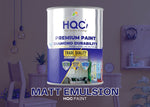
- HQC Paint or your preferred paint.
- A Stirring Stick or Drill Mixer: To mix the thermal additive into the paint evenly.
- Measuring Cup: For accurate measurement of the additive.
- Paintbrushes, rollers, or sprayer: For applying the mixed paint.
Step 2: Choose the Right Paint
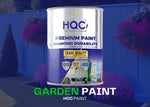
You can add thermal mix paint additives to most water-based and emulsion paints. However, for the best results, choose a high-quality paint like HQC Paint, which already offers durability and weather protection. The thermal mix additive will further enhance these properties by adding insulation to the paint.
Step 3: Measure the Additive
It’s important to measure the correct amount of thermal mix additive for your paint:
- Read the Instructions: Each brand of thermal mix additive may have slightly different instructions. Thermal Mix Paint Additive typically recommends adding one packet per 5 litres of paint.
- Accurate Measurement: Use a measuring cup if needed to ensure you’re adding the correct amount of additive based on the quantity of paint you’re using.
Step 4: Mix the Additive into the Paint
Once the additive is measured, it’s time to mix it thoroughly into your paint:
- Pour the Additive into the Paint: Open your can of paint and slowly add the thermal mix additive into the paint while stirring continuously.
- Stir Thoroughly: Use a stirring stick or a drill mixer to thoroughly blend the additive into the paint. Continue stirring until the additive is fully incorporated, ensuring there are no lumps or inconsistencies.
- Test the Consistency: Once mixed, the paint should have a smooth consistency, and you’re ready to apply it to your surface.
Step 5: Apply the Paint with the Additive
Now that the paint and additive are mixed, you can start applying it:
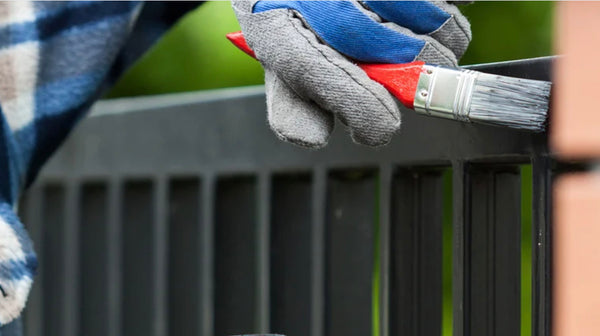
- Cut In with a Brush: Begin by cutting in around the edges and corners with a brush.
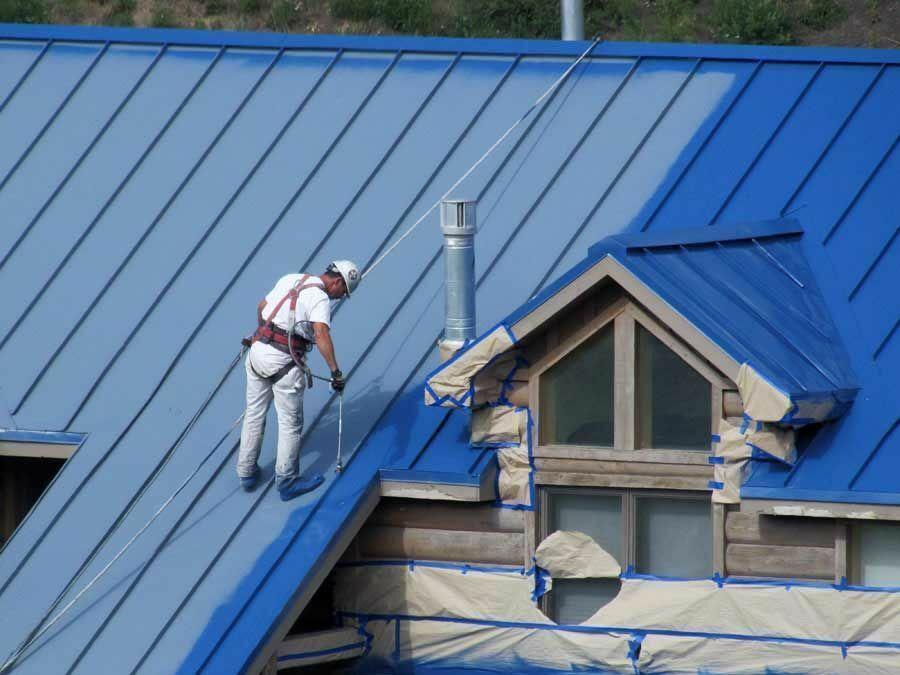
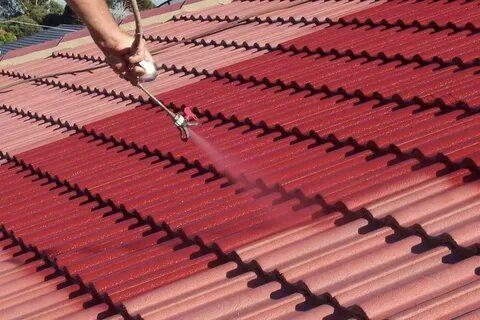
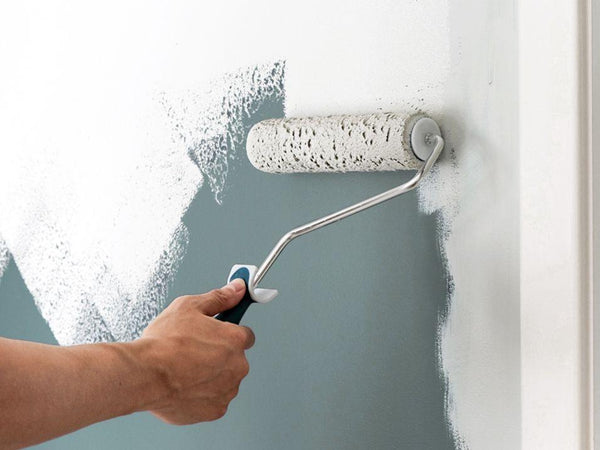
- Use a Roller or Sprayer for Larger Areas: For larger surfaces, use a roller or sprayer to apply the paint evenly. Make sure to apply a smooth, even coat to ensure the thermal properties are consistent across the entire surface.
- Apply the First Coat: Allow the first coat to dry before deciding if additional coats are needed. Typically, two coats are recommended for the best insulation.
Step 6: Let the Paint Dry
After applying the thermal mix paint, it’s essential to let it dry fully:
- Drying Time: Let the paint dry for at least 4-6 hours between coats, and allow a full 24 hours for the paint to cure completely.
Step 7: Clean Up
After completing the project, clean up your workspace and tools:
- Clean Your Brushes and Rollers: Wash all your tools with warm water for future use.
- Store Leftover Paint: Store any leftover paint mixed with the additive in a sealed container for future touch-ups or projects.
Benefits of Using Thermal Mix Paint Additive
Using a thermal mix additive offers several benefits:
- Energy Efficiency: By reducing heat transfer, you can save on energy bills and improve the overall comfort of your home.
- Temperature Regulation: Keeps rooms warmer in the winter and cooler in the summer, reducing the need for constant heating or cooling.
- Improved Paint Durability: The additive also enhances the durability of the paint, making it more resistant to cracking or peeling.
Recommended Products
For the best results when using thermal mix paint additives, we recommend the following products from PaintOutlet.co.uk:
- Thermal Mix Paint Additive: Adds thermal insulation to your paint for increased energy efficiency.
- HQC Paint: High-quality paint that works well with thermal additives for durability and coverage.
FAQ Section
Q: How much thermal mix additive should I add to my paint?
A: For best results, use one packet of Thermal Mix Paint Additive per 5 litres of paint. Always follow the manufacturer's instructions for proper mixing ratios.
Q: Can I add thermal mix additives to any paint?
A: Thermal mix additives work best with water-based and emulsion paints. For the best results, use high-quality paints like HQC Paint.
Q: How many coats of paint with a thermal mix additive should I apply?
A: Two coats are typically recommended for the best insulating properties and coverage.
Conclusion
Using a thermal mix paint additive is a great way to enhance the insulating properties of your paint, helping to regulate room temperature and improve energy efficiency. By following this guide and using high-quality products from PaintOutlet.co.uk, you’ll achieve a smooth, professional finish with added insulation benefits. With Thermal mix additives, you can enjoy a more comfortable, energy-efficient home while extending the life of your paint job.


