


Introduction
Rising damp is a form of moisture that moves up through walls from the ground, typically due to a damaged or missing damp-proof course (DPC). It can cause damage to walls, floors, and plaster, leading to unsightly stains, peeling paint, and even structural issues if left untreated. Identifying rising damp early and fixing it is essential to protecting your home from further damage. You must never just paint over the issue, it's vital to fix the root cause of Rising Damp before painting.
In this guide, we’ll explain what rising damp is, how to recognize it, and how to stop it from affecting your property.
Step 1: Identify the Signs of Rising Damp
Rising damp has distinct signs that make it easier to spot. Look out for:
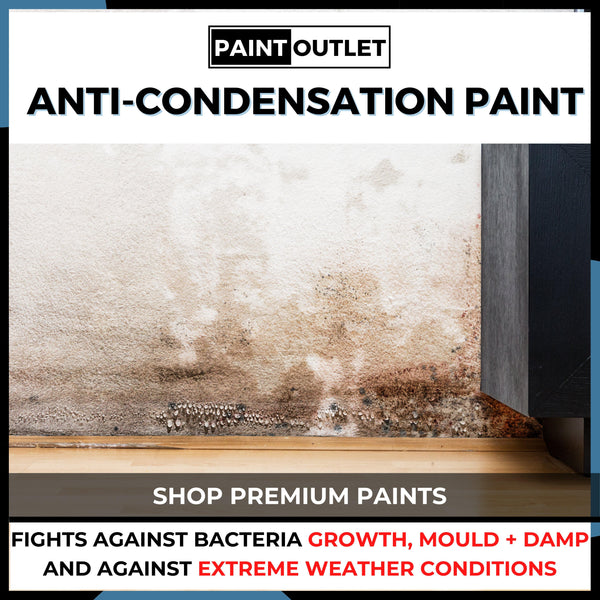
- Damp Stains on Lower Walls: Rising damp typically appears as a tide mark or damp patches on the lower sections of walls, often no more than a metre high.
- Peeling Paint or Wallpaper: The dampness causes paint and wallpaper to peel or bubble.
- Salts on the Wall Surface: As moisture rises through the wall, it carries salts from the ground, which crystallise on the wall surface. You may notice white, powdery marks.
- Musty Odours: Damp areas often give off a musty smell due to moisture build-up.
Step 2: Check for a Damaged or Missing Damp-Proof Course (DPC)
Rising damp occurs when the DPC, which prevents ground moisture from moving up the walls, is either damaged or missing. To stop rising damp, you need to restore or repair the DPC:
- Inspect the Exterior Wall: Look for a horizontal strip near the base of the wall that is typically made from plastic, slate, or bitumen. If this is damaged or missing, rising damp may be affecting your home.
- Hire a Professional for a New DPC: If your home lacks a DPC or it’s damaged, you may need to hire a professional to inject a chemical DPC or install a new physical damp-proof course to stop moisture from rising.
Step 3: Dry the Affected Area
Once you’ve repaired or restored the DPC, it’s important to dry out the damp walls:
- Dry the Wall Completely: Use a dehumidifier or ensure plenty of ventilation to dry the affected walls. Allow the wall to dry out naturally over time before proceeding with repairs.
- Scrape Off Loose Paint or Plaster: If the rising damp has caused damage to the paint or plaster, use a scraper to remove any loose material. Sand down the area for a smooth surface.
Step 4: Repair the Damaged Wall
After the wall has dried out, you’ll need to repair any damage caused by the rising damp:
- Fill Cracks and Holes: Use a filler to repair any cracks or holes caused by damp. Sand the filler smooth once it has dried.
- Replace Damaged Plaster: In severe cases of rising damp, the plaster may need to be replaced if it has been badly damaged.
- Prime the Wall: Apply HQC Stabilising Universal Primer to prepare the wall for painting. This will help the paint adhere properly and provide additional protection against moisture.
Step 5: Apply a Damp-Proof Paint
To protect your walls from future moisture problems, apply a damp-proof paint:
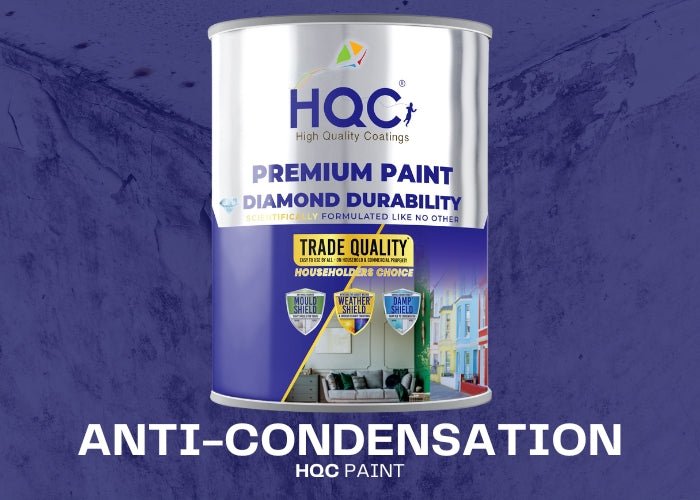
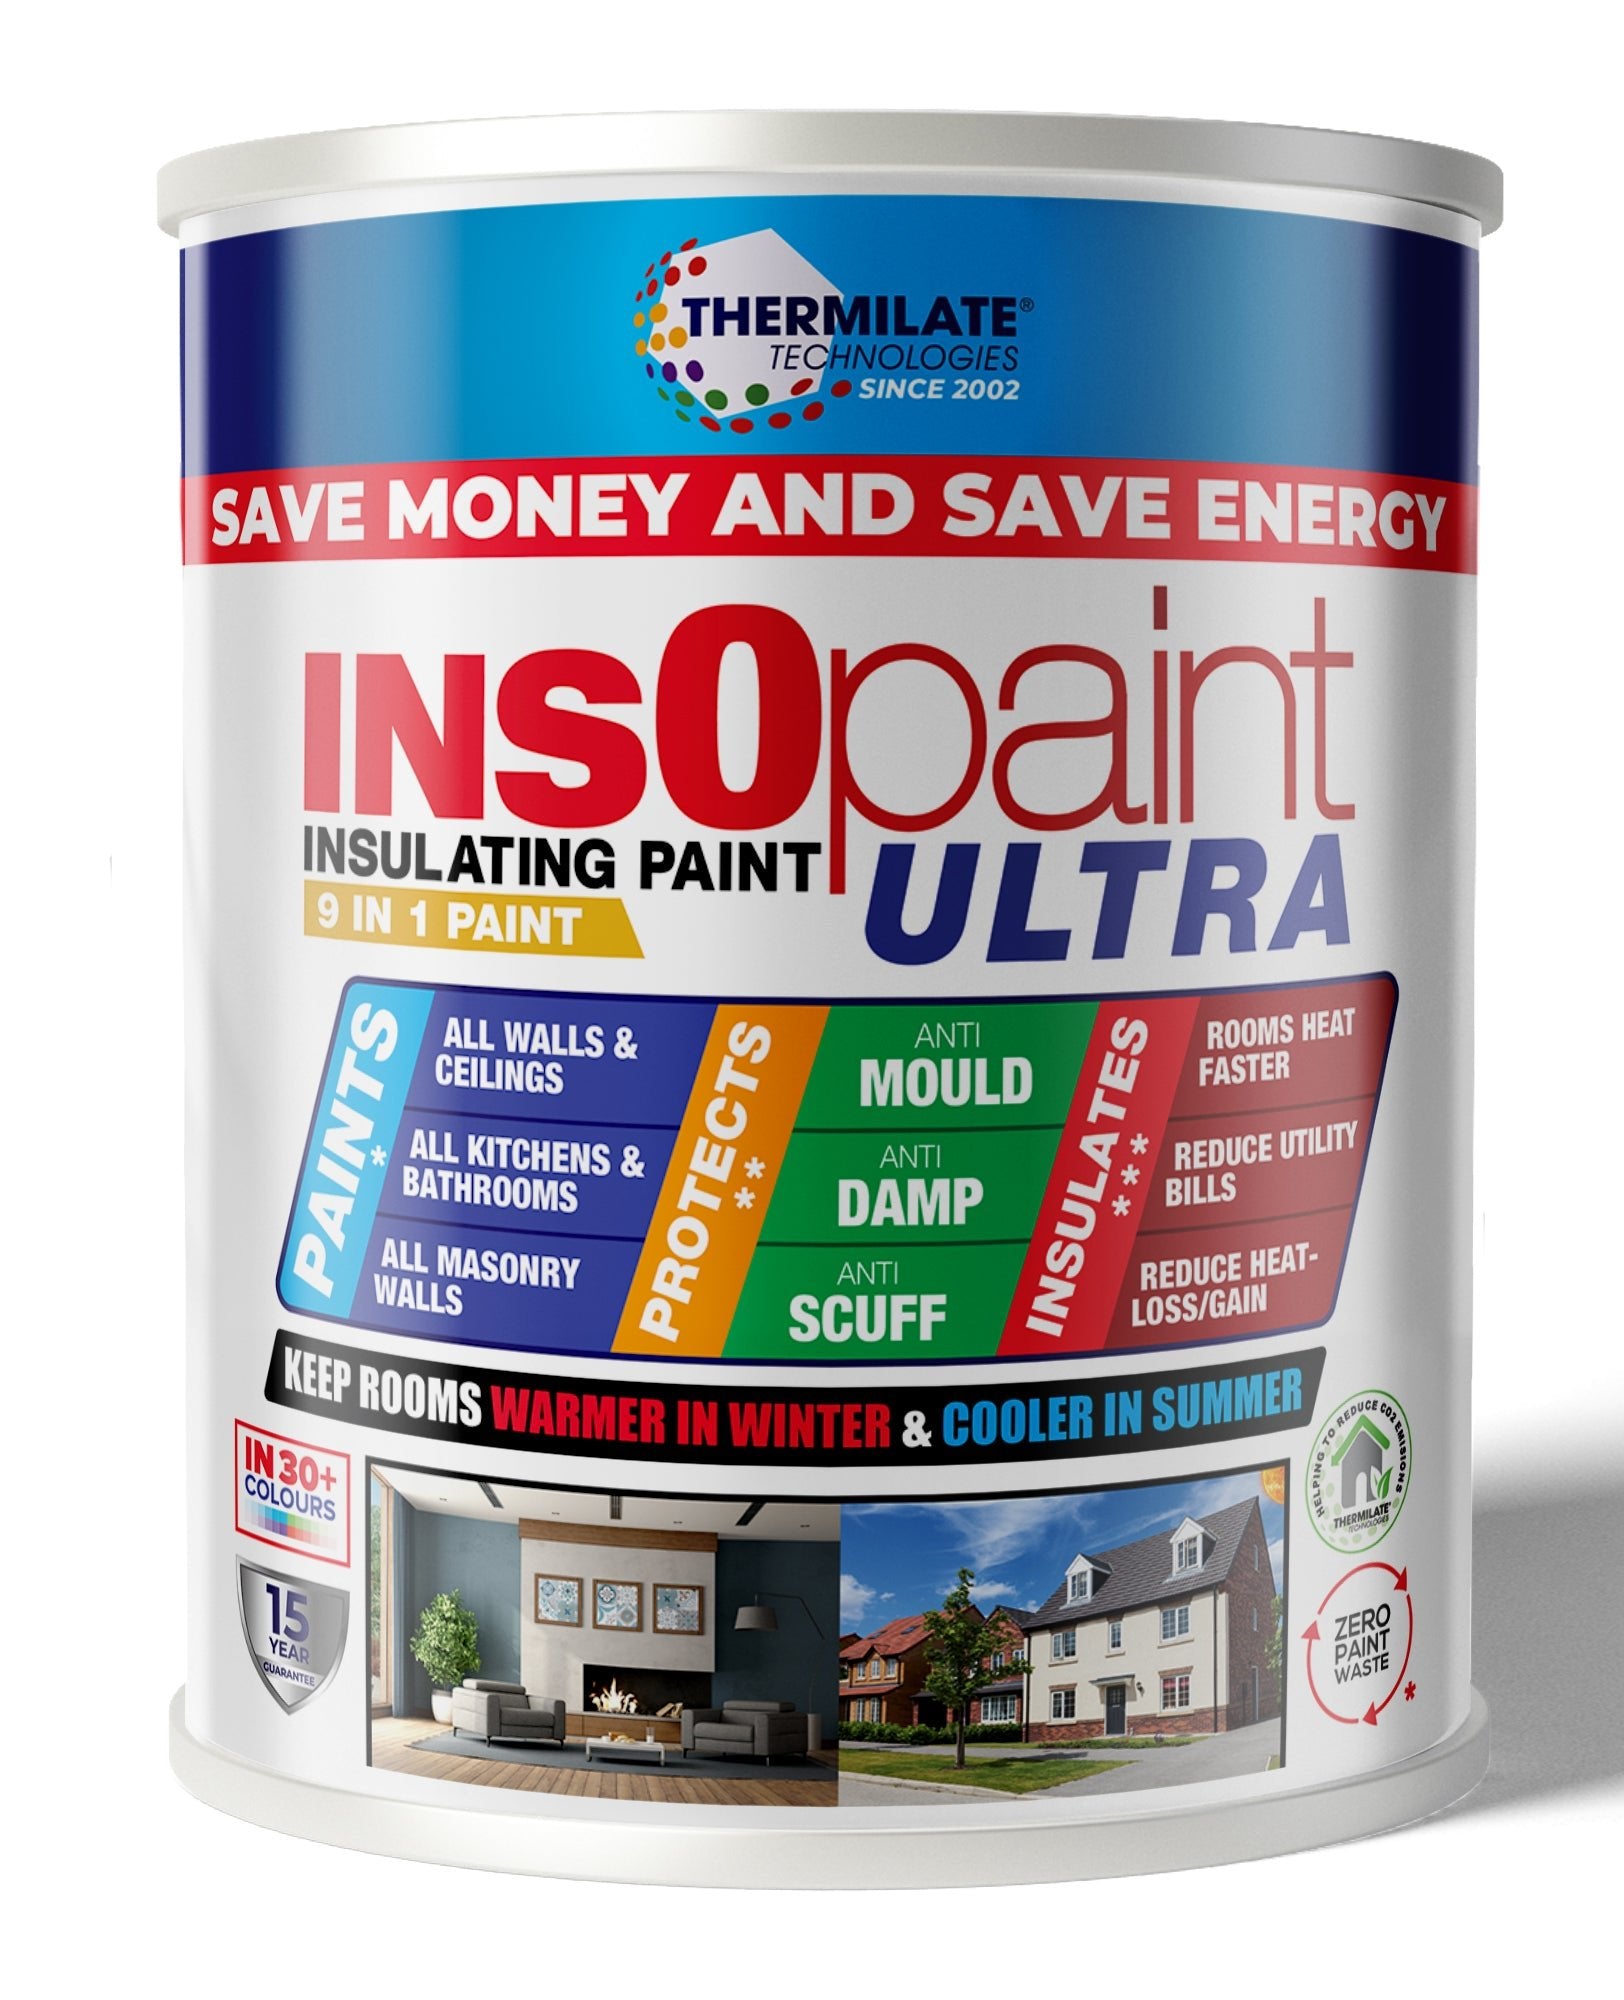
- Choose a Damp-Resistant Paint: Use HQC Anti-Damp Paint or InsOpaint Ultra. These paints are designed to prevent moisture from affecting your walls.
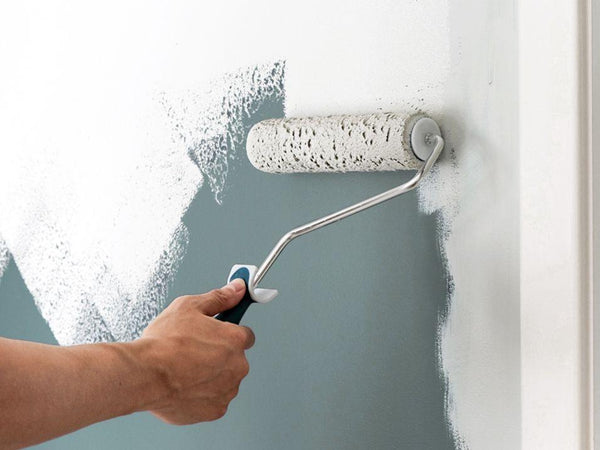
- Apply the First Coat: Use a brush or roller to apply the paint evenly to the affected area. Allow the first coat to dry for 4-6 hours.
- Apply a Second Coat: For better coverage and long-lasting protection, apply a second coat once the first has dried.
Step 6: Prevent Future Rising Damp
To ensure that rising damp doesn’t return, take the following preventative measures:
- Maintain the DPC: Regularly inspect the damp-proof course to ensure it is intact and functioning properly. If you notice damage, get it repaired quickly to prevent moisture from rising again.
- Improve Ventilation: Ensure your home has proper ventilation, especially in areas prone to damp, such as basements or ground-floor rooms. Use extractor fans or dehumidifiers to keep moisture levels low.
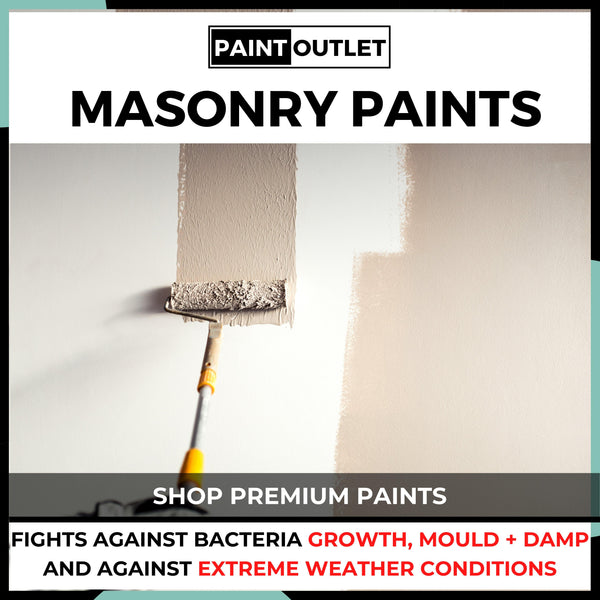
- Seal External Walls: Consider applying a water-repellent coating to the exterior walls to prevent moisture from penetrating the brickwork.
Recommended Products
For the best results when treating and preventing rising damp, we recommend the following products from PaintOutlet.co.uk:
- HQC Anti-Damp Paint: Provides long-lasting moisture resistance and prevents damp from affecting your walls.
- InsOpaint Ultra: Offers insulation, moisture resistance, and helps protect against mould and water damage.
- HQC Stabilising Universal Primer: Seals and primes walls, helping to prevent future damp problems.
FAQ Section
Q: What is rising damp?
A: Rising damp occurs when moisture from the ground moves up through the walls, typically due to a missing or damaged damp-proof course (DPC).
Q: How can I stop rising damp?
A: The best way to stop rising damp is to repair or install a damp-proof course (DPC) and apply moisture-resistant paints like HQC Anti-Damp Paint or InsOpaint Ultra.
Q: Can I paint over rising damp?
A: No, you need to first repair the source of the rising damp, dry the walls completely, and repair any damage before applying paint.
Conclusion
Rising damp can cause significant damage to your walls if left untreated, but by following this guide and using high-quality products from PaintOutlet.co.uk, you can stop it from affecting your home. With the right preparation and preventative measures, your walls will stay dry and free from rising damp for years to come. Just remember to repair or install a damp-proof course to ensure long-lasting results.