


How to apply HQC Solar Reflective Paint
Where can it be applied?
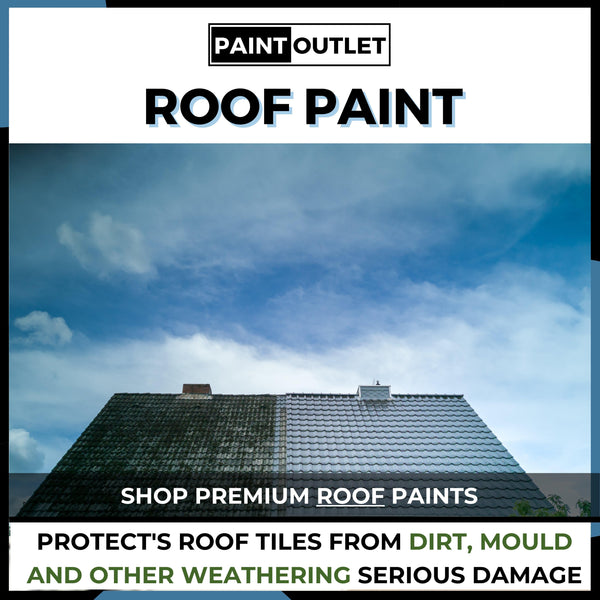
Applicable on multiple surfaces, including concrete, plaster, pebbledash, brick, and stonewalls. This broad coverage of HQC Solar Reflective Paint makes it the first choice of consumers.
Surface Preparation:
To prepare your wall to use HQC Solar Reflective Paint, a few preliminary steps must be performed. They depend on the wall type under consideration:
The Brick Wall:
To prepare the brick wall, you must:
- Use water, soap mixture, and scrub the wall with the wire brush. It will take away even the tiniest of the dirt particle, and it is essential because dirt on the wall will not allow the paint to stick correctly.
- Let the brick wall try before you start painting. You must note here that your brick wall shouldn’t be cracked or requires any structural upgrade, and if it does, then you might have to hire repairing experts.
Pebbledash Wall:
For the Pebble Dash walls, masonry paints might be the best option to use, but they won’t work if your pebbledash wall isn’t adequately prepared. So, here’s what you need to do:
HQC Insulating Masonry is not filler, so the paint coats won’t automatically fill any cracks or damages your wall has. Instead, they would do worse. Once the paint dries on an unprepared wall, it will make the crack prominent. Even the paint will be sucked in by the cracks, making the inside moist. To avoid this problem, look for the gaps or damage in your walls. Repair them with filler, or you might have to ask professional help to manage them.
Now clean the wall properly using the wire brush. It will remove the dirt particles and other protruding elements from the wall that might hinder the perfect look of your paint.
Once cleaned, apply HQC universal primer to make your wall smooth, and it will make it easier for you to use the masonry paint.
How to repair the minor damages to the wall before you paint?
You can apply these tips to any wall type. So, let’s see:
Seal the cracks: Whether you find these cracks minor or significant don’t leave them as it is. You just use the permanent acrylic sealant to cover these cracks. It will not only make your wall surface smooth but will also make the paint look better.
Damp walls: Find the primary source of dampness and rectify it before you start painting. Blistering, flaking, or moulding could be the potential signs of a wet wall. If you already have these signs, then apart from treating the source, you’ll have to fix each one of them:
Mould: Wash the affected area with Weathershield Multi-Surface Fungicidal Wash. Leave it for 24 hours before scrubbing the mould off the wall.
Blister – it is caused when the wall isn’t allowed to dry properly before painting. The solution to it is to scrub the blistered paint till you get a smooth surface. Use the HQC universal primer to cover the surface. Now use a thinned colour coat to cover the entire wall before you start the regular paint.
Cracks – open the cracks a bit with a scraper. Apply the filler and dampen it to let the filer work properly. Rub it down when it dries to create a smooth surface. Apply primer and paint it.
Coverage:
Under normal conditions, this paint covers up to 14m2 per litter if painting a single coat or 7m2 for two coats.
Priming:
Once your wall is ready for the paint, apply a coat of primer to provide an added layer of protection to the wall and a binding agent for the paint. One of the best primers that work on all types of walls and complements the HQC Solar Reflective Paint is HQC universal primer. On the areas where the brick wall seems more worn out, you might need multiple coats.
The use of primer is not essential, but it can give your paint a better look. A primer is usually applied on unpainted surfaces and dry plasterboards. You might want to use it as an adhesive to ensure better paint sticking. Besides, it works well on the damaged surface, as discussed in the wall damage repair section above.
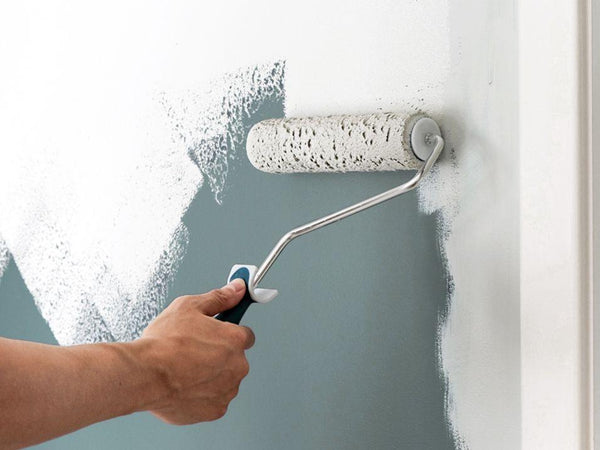
How to apply?
The application of reflective paint is simple.
Once your surface is clean, dry, and free from any moisture, dirt, bacteria, and moulds, and dampness, you can now get onto the paint application step.
If you have used a primer on your wall, you’ll have to wait till it is touch dry.
Open your paint bucket with a paint opener. Stir your paint rigorously to ensure an even colour coverage.
Choose your desired method of application. Spray, roller, or brushes are a few options you have.
Apply evenly. Start from a particular corner and keep the stroke the same. Cover the entire wall.
Once it dries, apply another coat of paint to give it a nice and elegant look.
Drying times:
It will take 2-4 hours in general circumstances for the paint to dry.
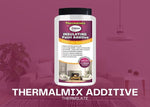
If you choose to thin the paint (Optional)
Thinning the masonry paint can enhance the coverage and paint’s effectiveness. If you want it to be part of your painting process, we recommend it in the following proportion. Up to 1 part, clean water to five parts paint allows enough thinning of the paint to cover a bare surface.
Product Data Sheet + Safety Data Sheet:
Storing Paint:
After use, you have to clean your brushes and other equipment, and clean water should be enough of the cleaning agent. The leftover paint must be stored in a cool, dry location, and it will help in future paint ventures or regular touch-ups. Do not store in extreme temperatures (min 7OC, max 40OC) and protect from frost.